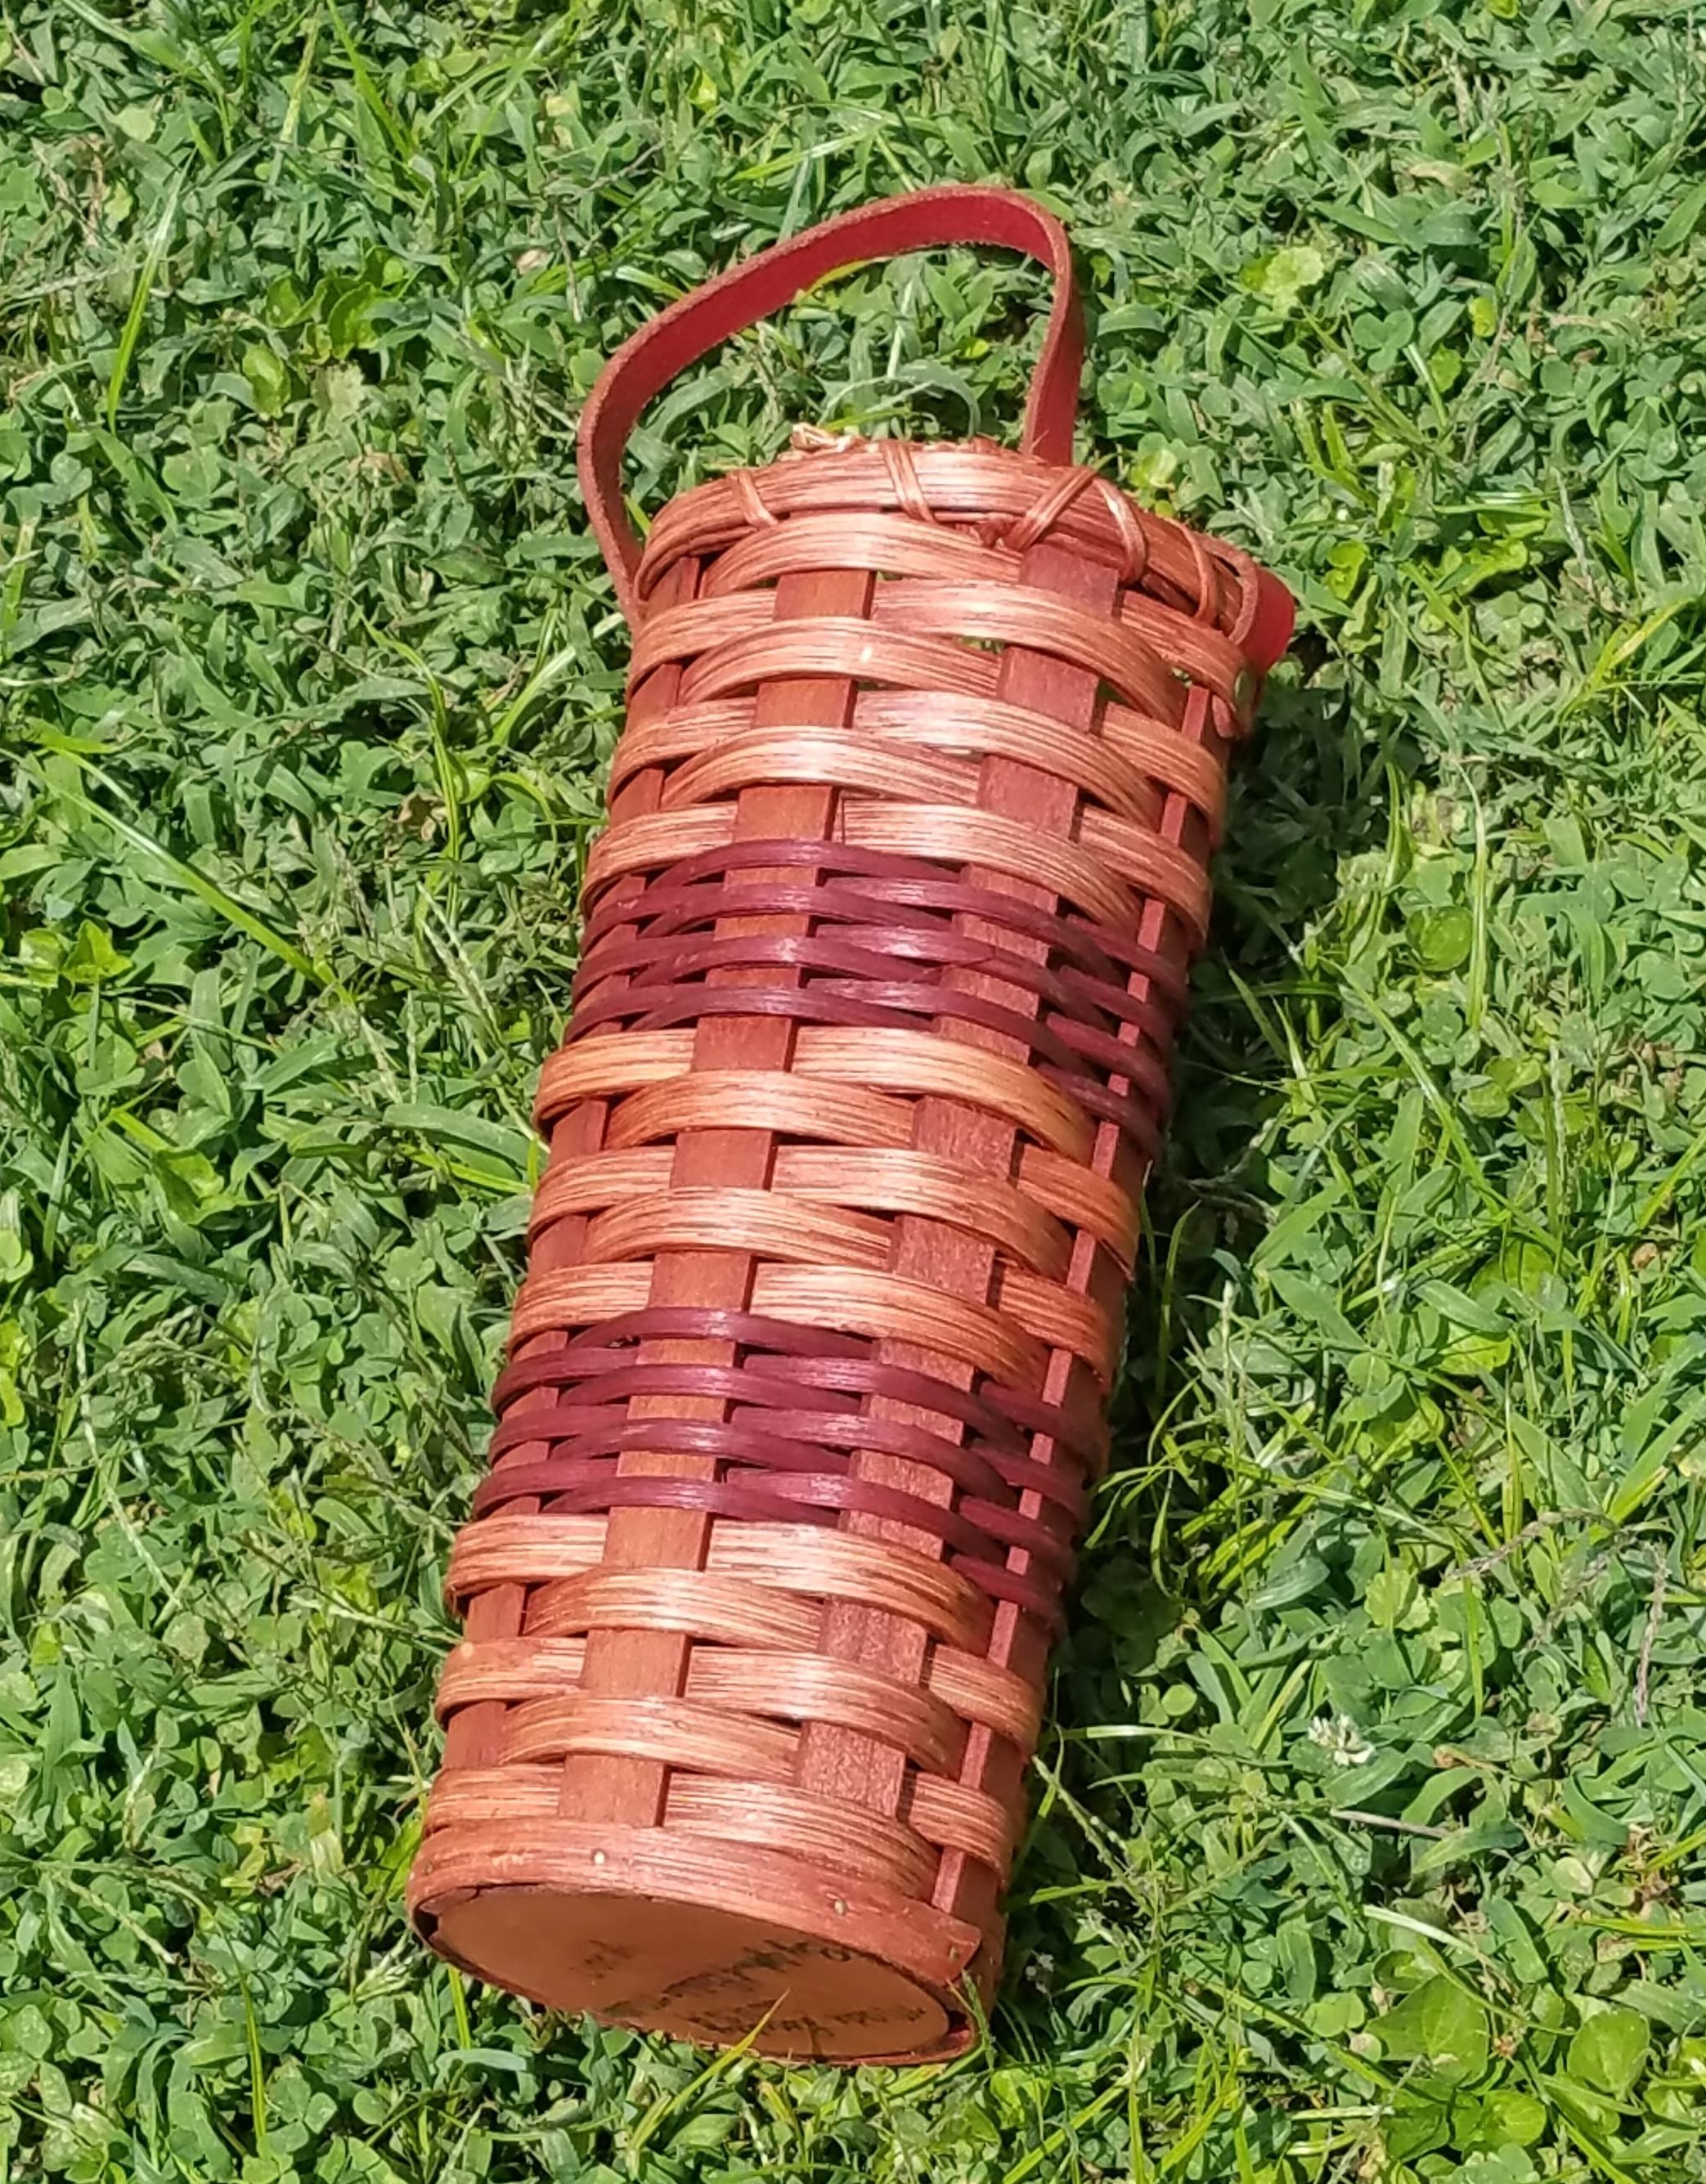
There are several things I am always on the hunt for when I go junkin’, and baskets are high up on the list. Outdated baskets can be found inexpensively at yard sales and thrift shops, and sometimes it only takes a little paint to complete transform them. Such was the case with this reddish, primitive style basket I found this past weekend at a yard sale for only $2.00. *This post contains affiliate links.
I love tall baskets of any kind because they are so perfect for fresh or faux flower arrangements. As soon as I saw this basket I knew I wanted to give it a French farmhouse makeover with chalk paint and dark wax to create a weathered gray wash look.
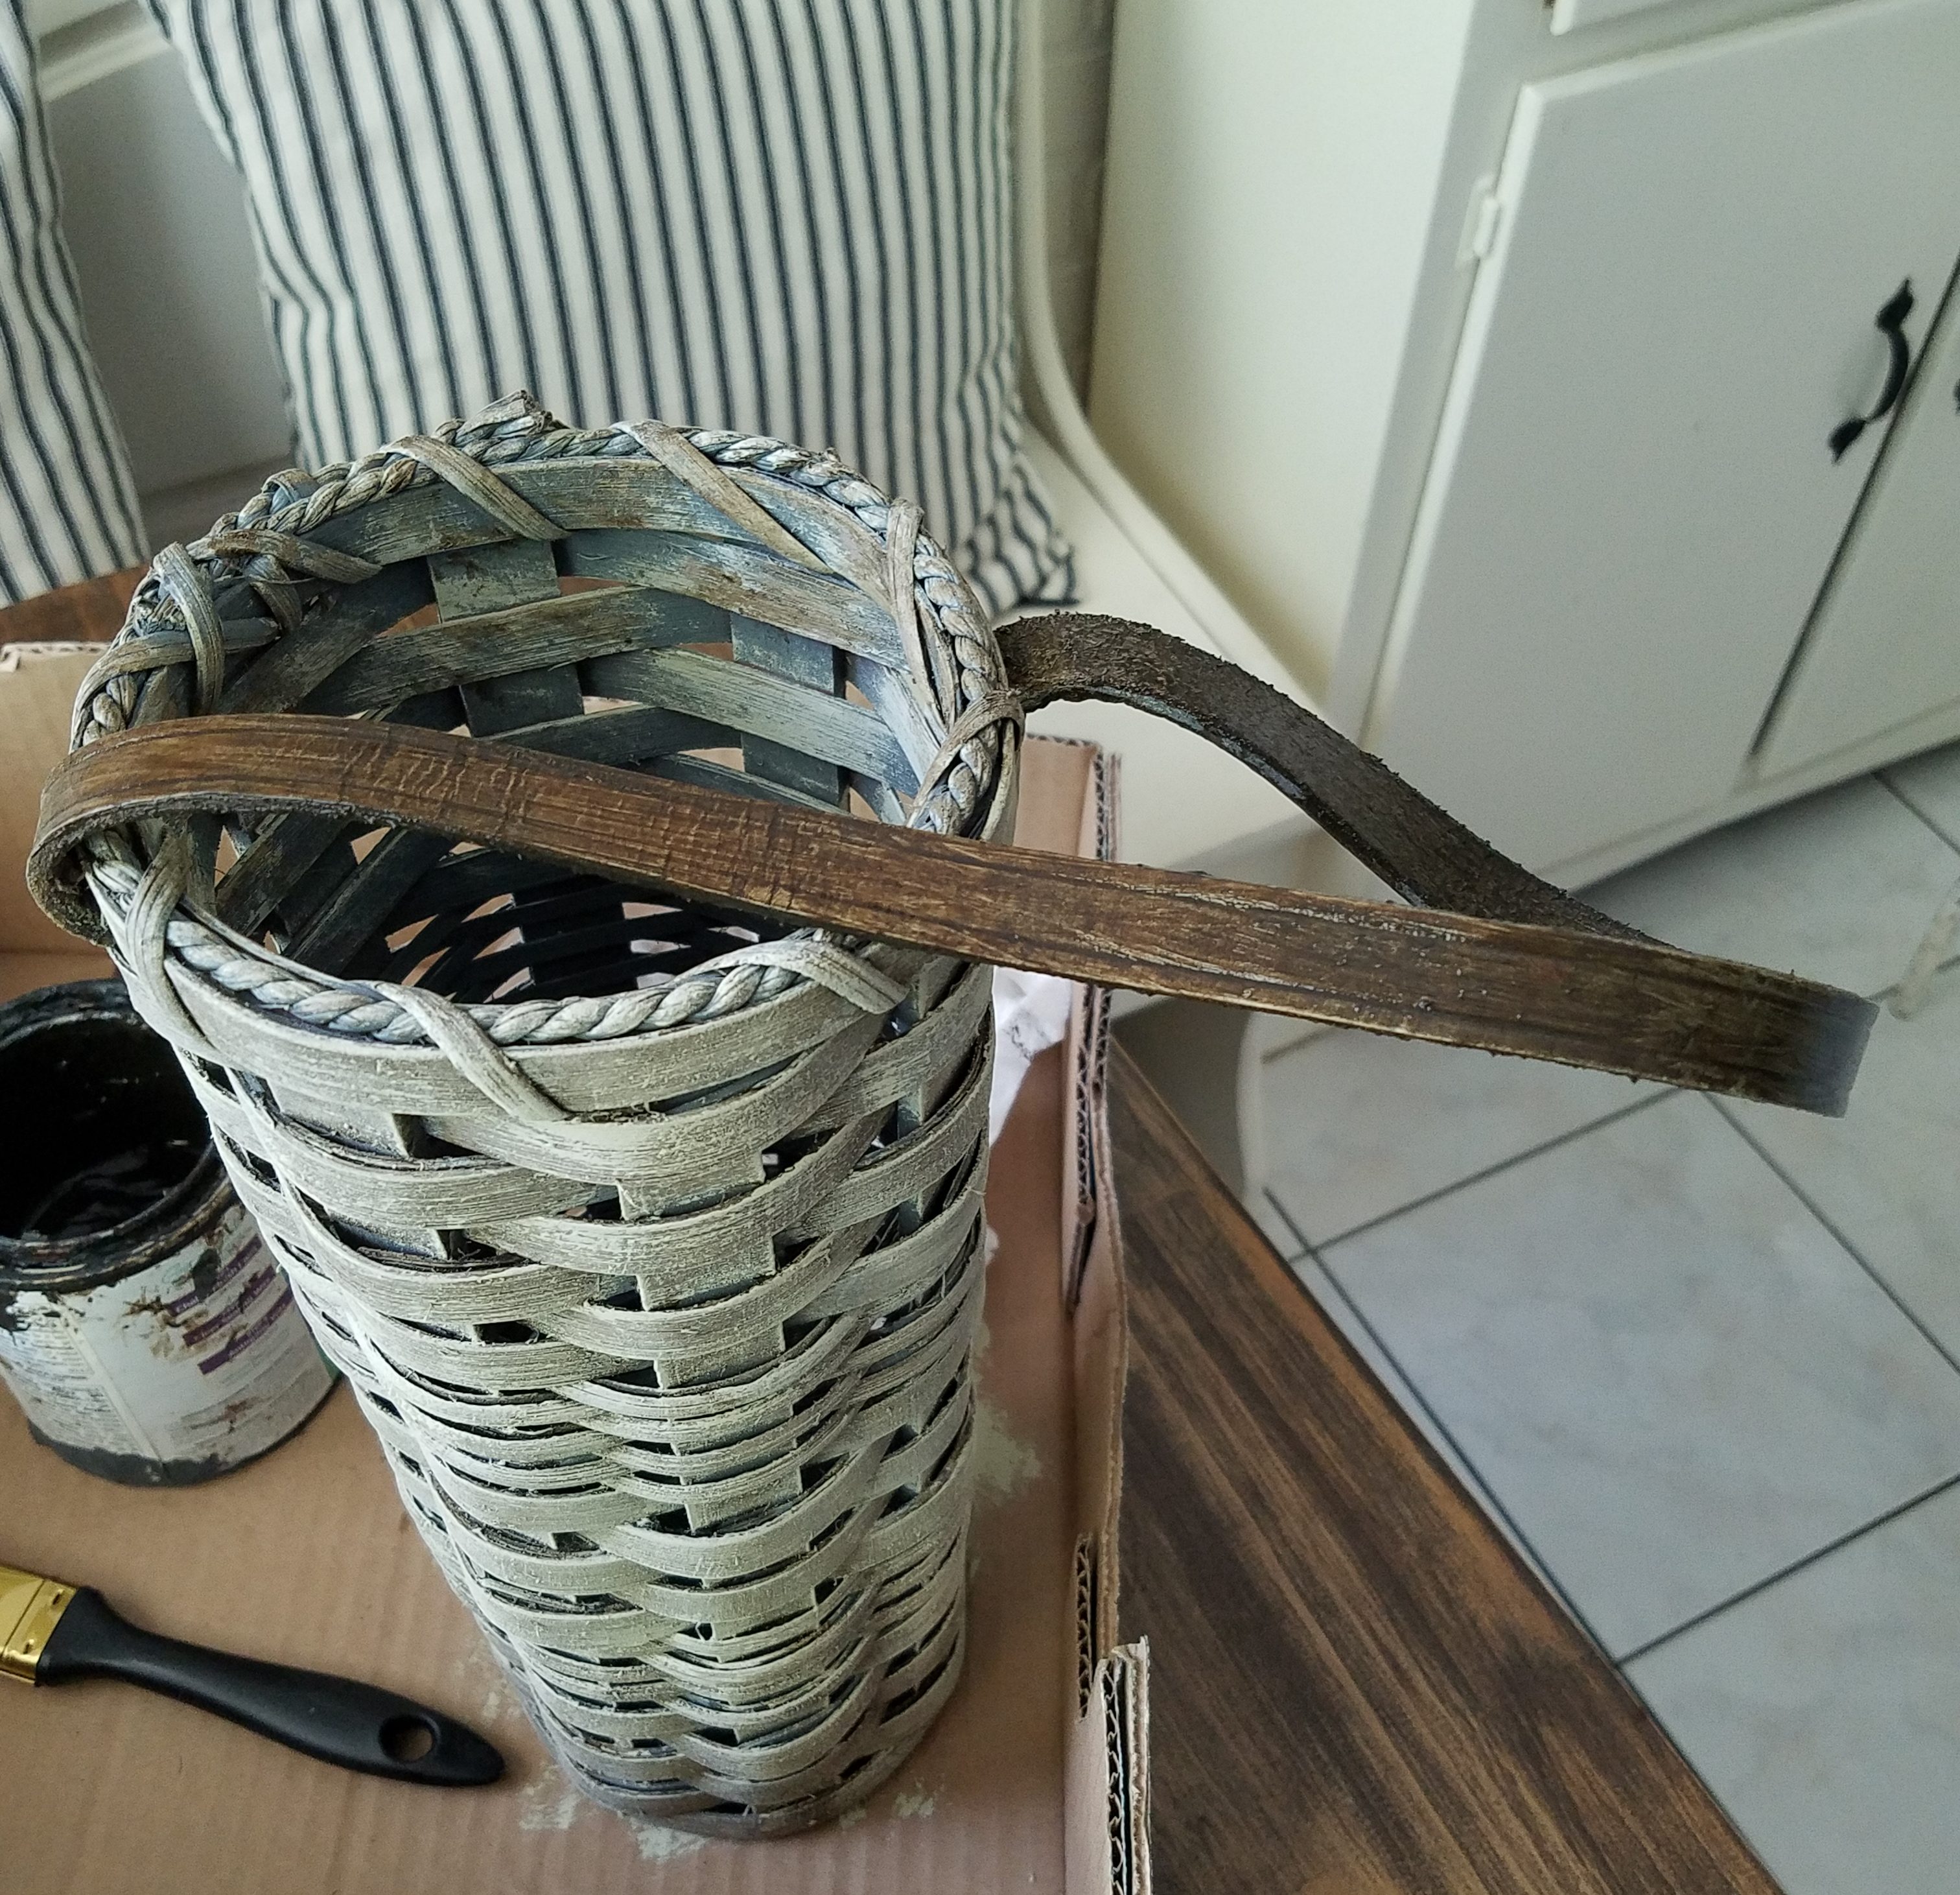
When I got home from the yard sale I set the basket out on the patio table along with a few other junkin’ finds. I always inspect my junk for any signs of spiders or other unsavory critters, mold, mildew etc. that I may have missed in my crazed frenzy to snatch up a bargain upon purchasing the items before bringing them in the house. As it was, the primitive style red stain and red leather handle wouldn’t match my decor. Other than that the basket was in great shape. I was excited get to work right away!
My goal was to make the basket look similar to these vintage style French baskets with a weathered gray wash.
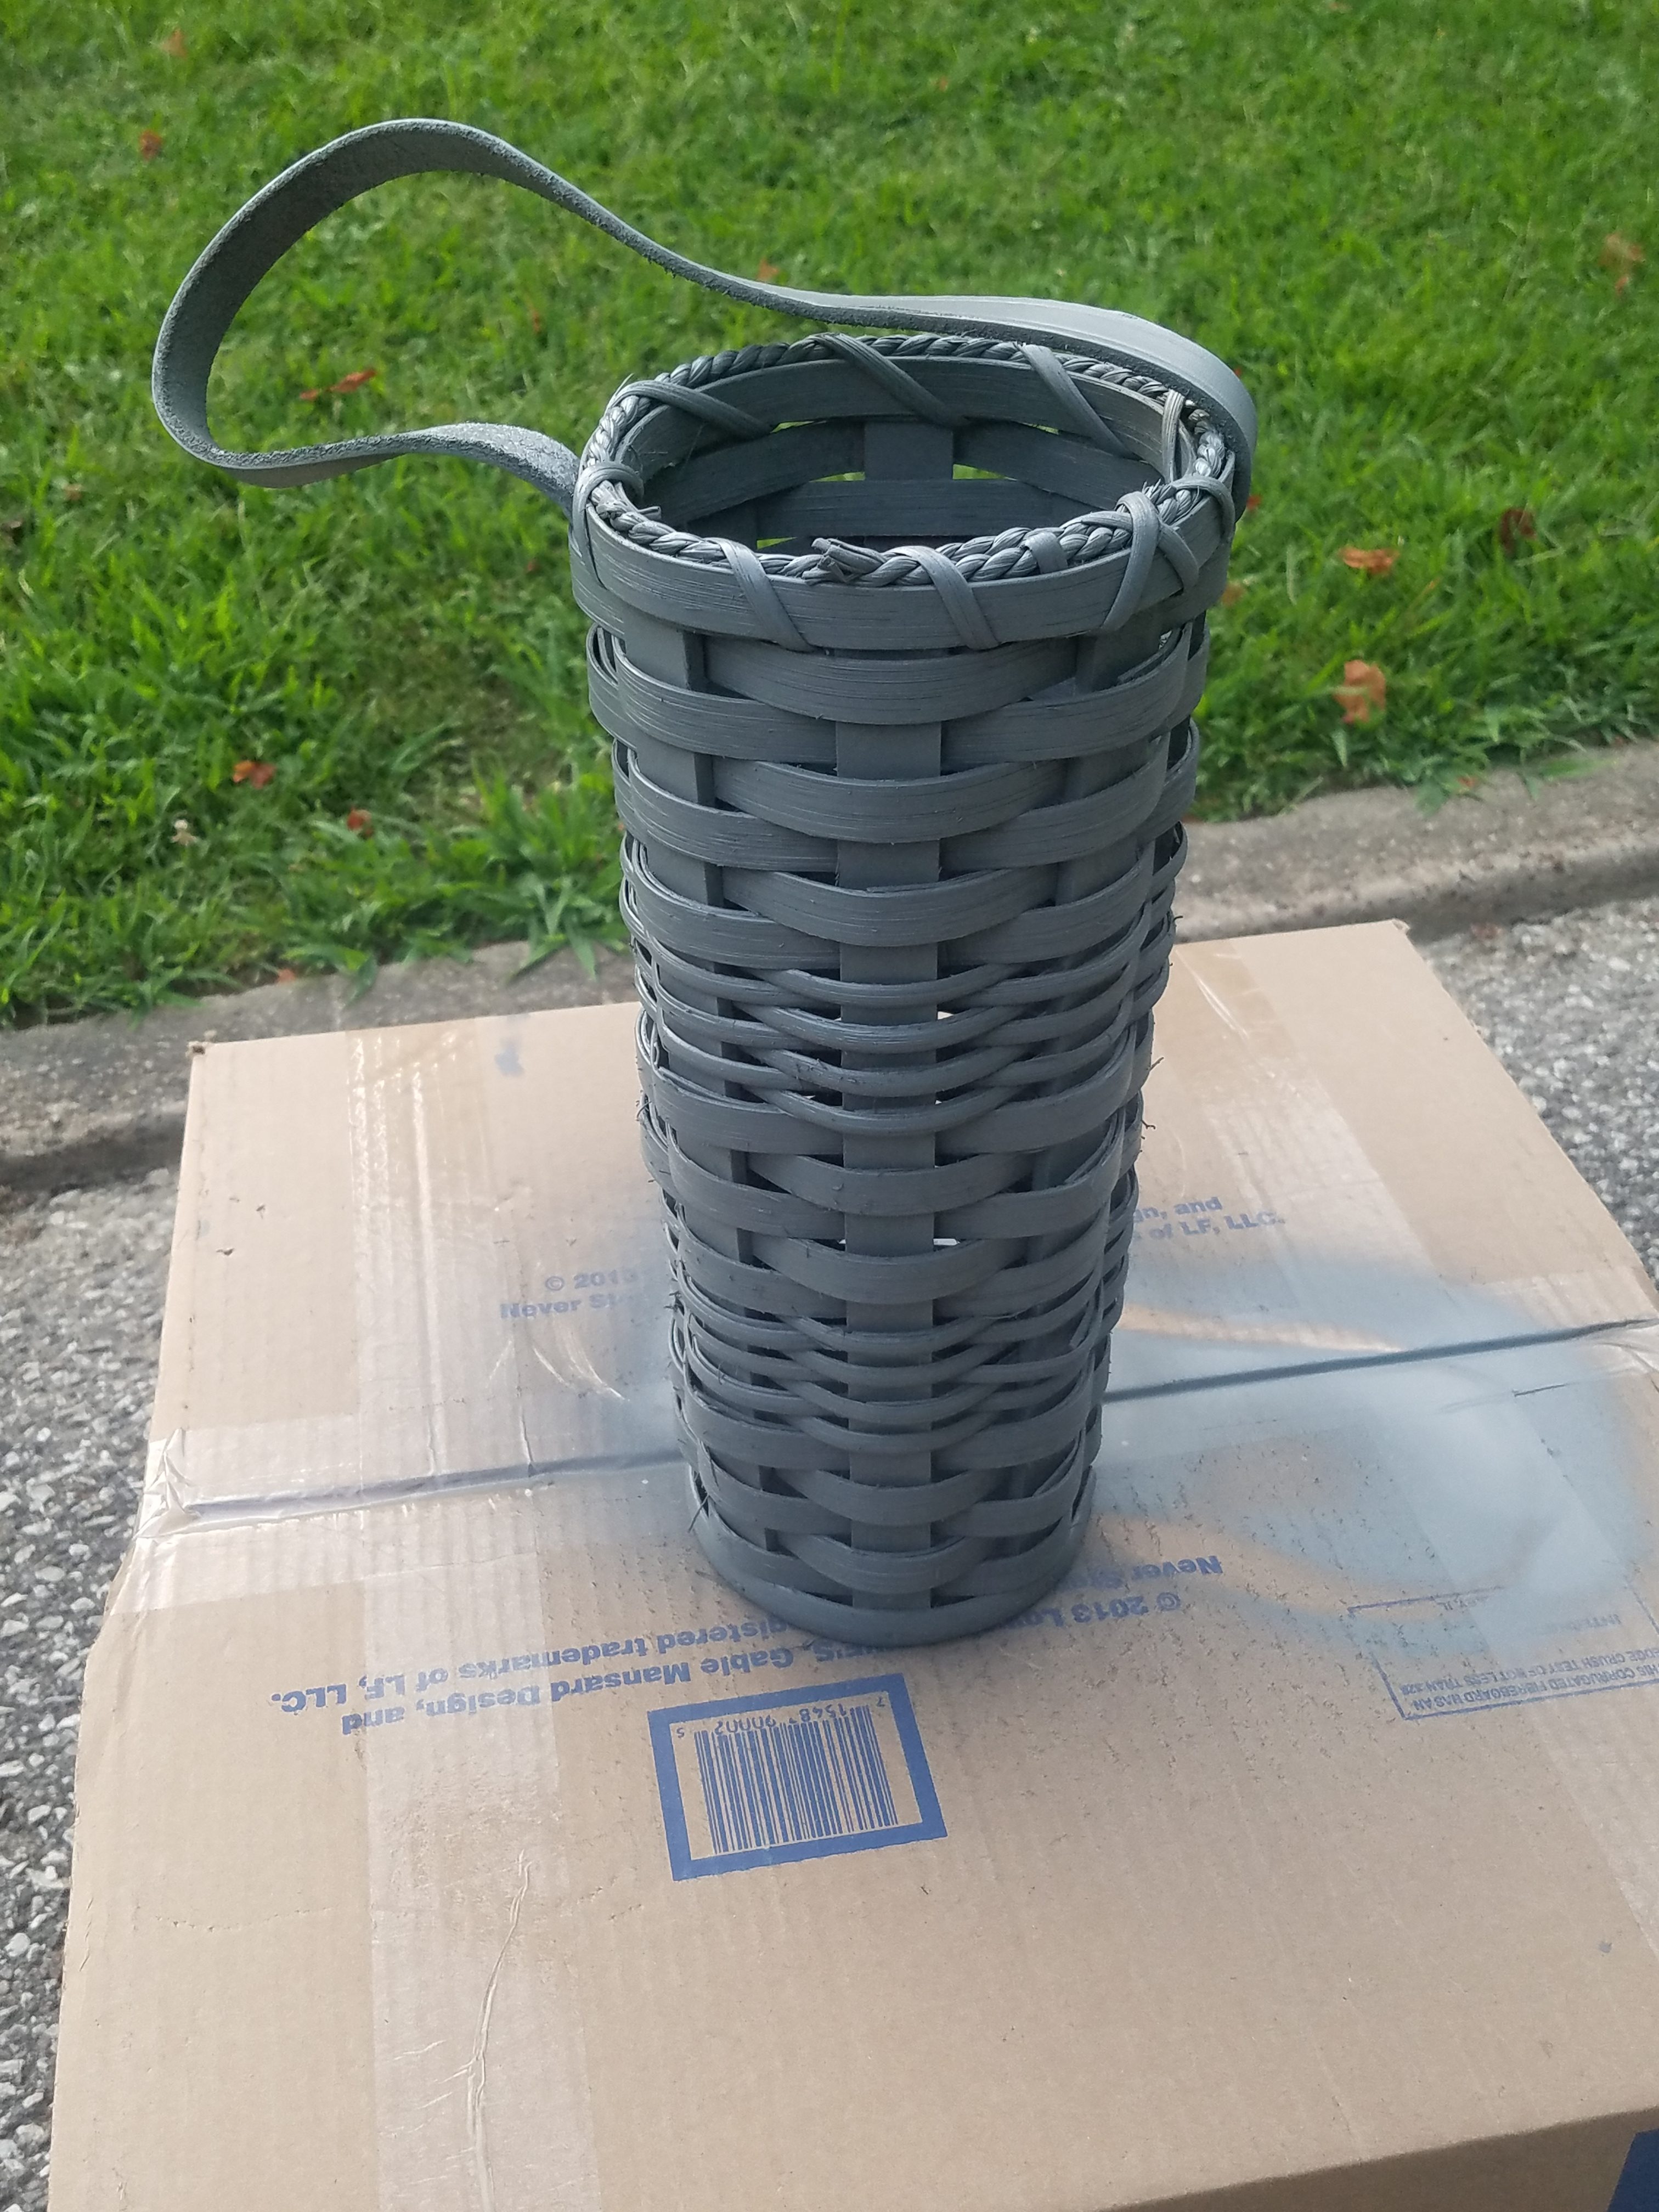
I started by spray painting the entire basket inside and out with Krylon Matte Deep Gray. I like to spray paint baskets because it’s the easiest way to get down in between the weave, and it will encapsulate any old smells and will make the basket “clean.” The deep gray shade dried more bluish-gray than I would have liked, but I figured I could still work with it so I didn’t repaint it. Just for reference, it only took about half a can of spray paint for this basket. *Even though I used spray paint, the same effect could be created using a gray chalk paint as the base.
Krylon COLORmaxx Spray Paint, Deep Gray
A lighter, more neutral gray such as the chalk paint spray paint below would have been a better choice.
Rust-Oleum Series Rustoleum Country Gray Chalked Paint Spray
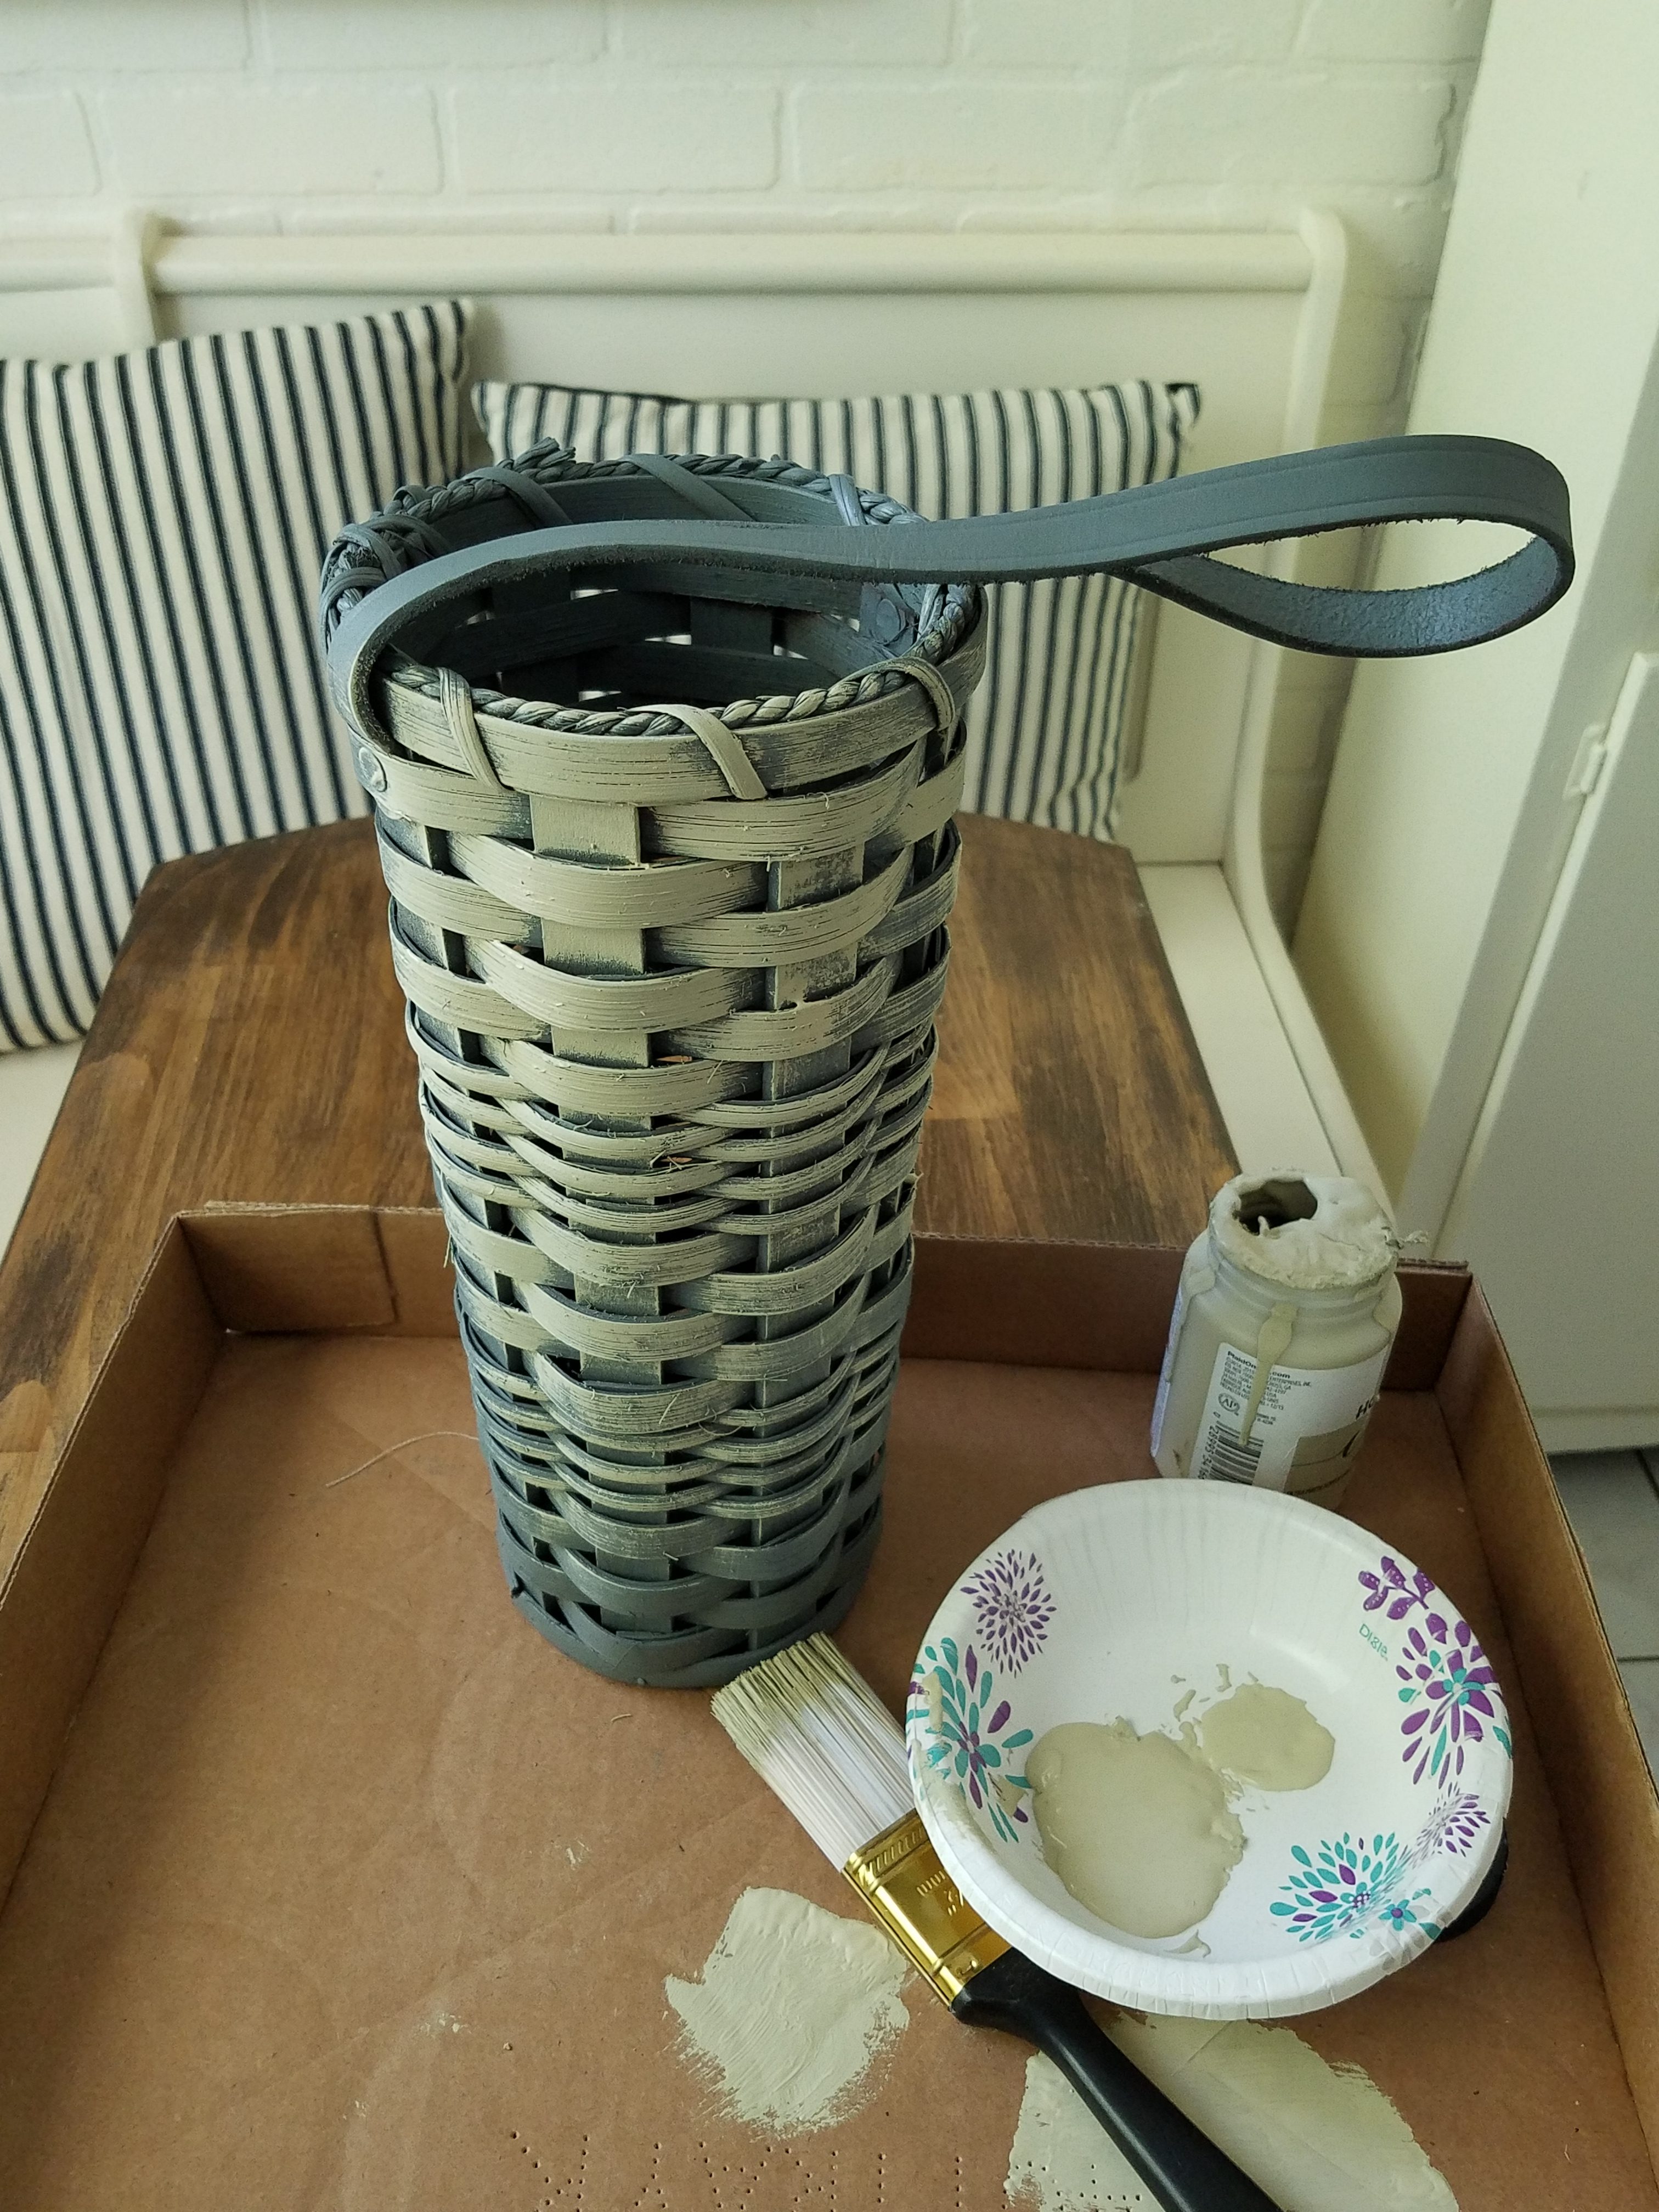
I let the basket dry for a couple of hours and then moved on to the next step, which was to dry brush the basket with FolkArt Chalk Paint in Oatmeal. I used a small paint brush and painted the oatmeal using light strokes in a horizontal direction randomly around the basket. I didn’t need to cover the gray entirely because I still had two more steps of “aging” the basket to achieve the desired gray wash effect.
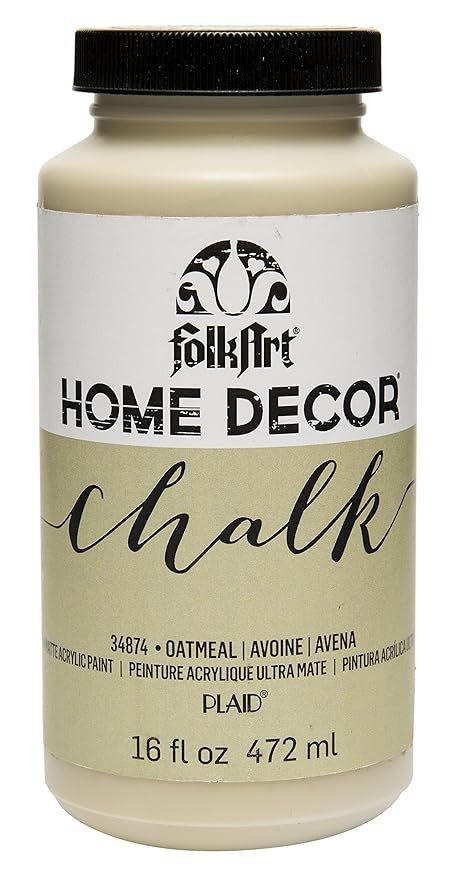
FolkArt Home Decor Chalk Furniture & Craft Paint 16 ounce, Oatmeal
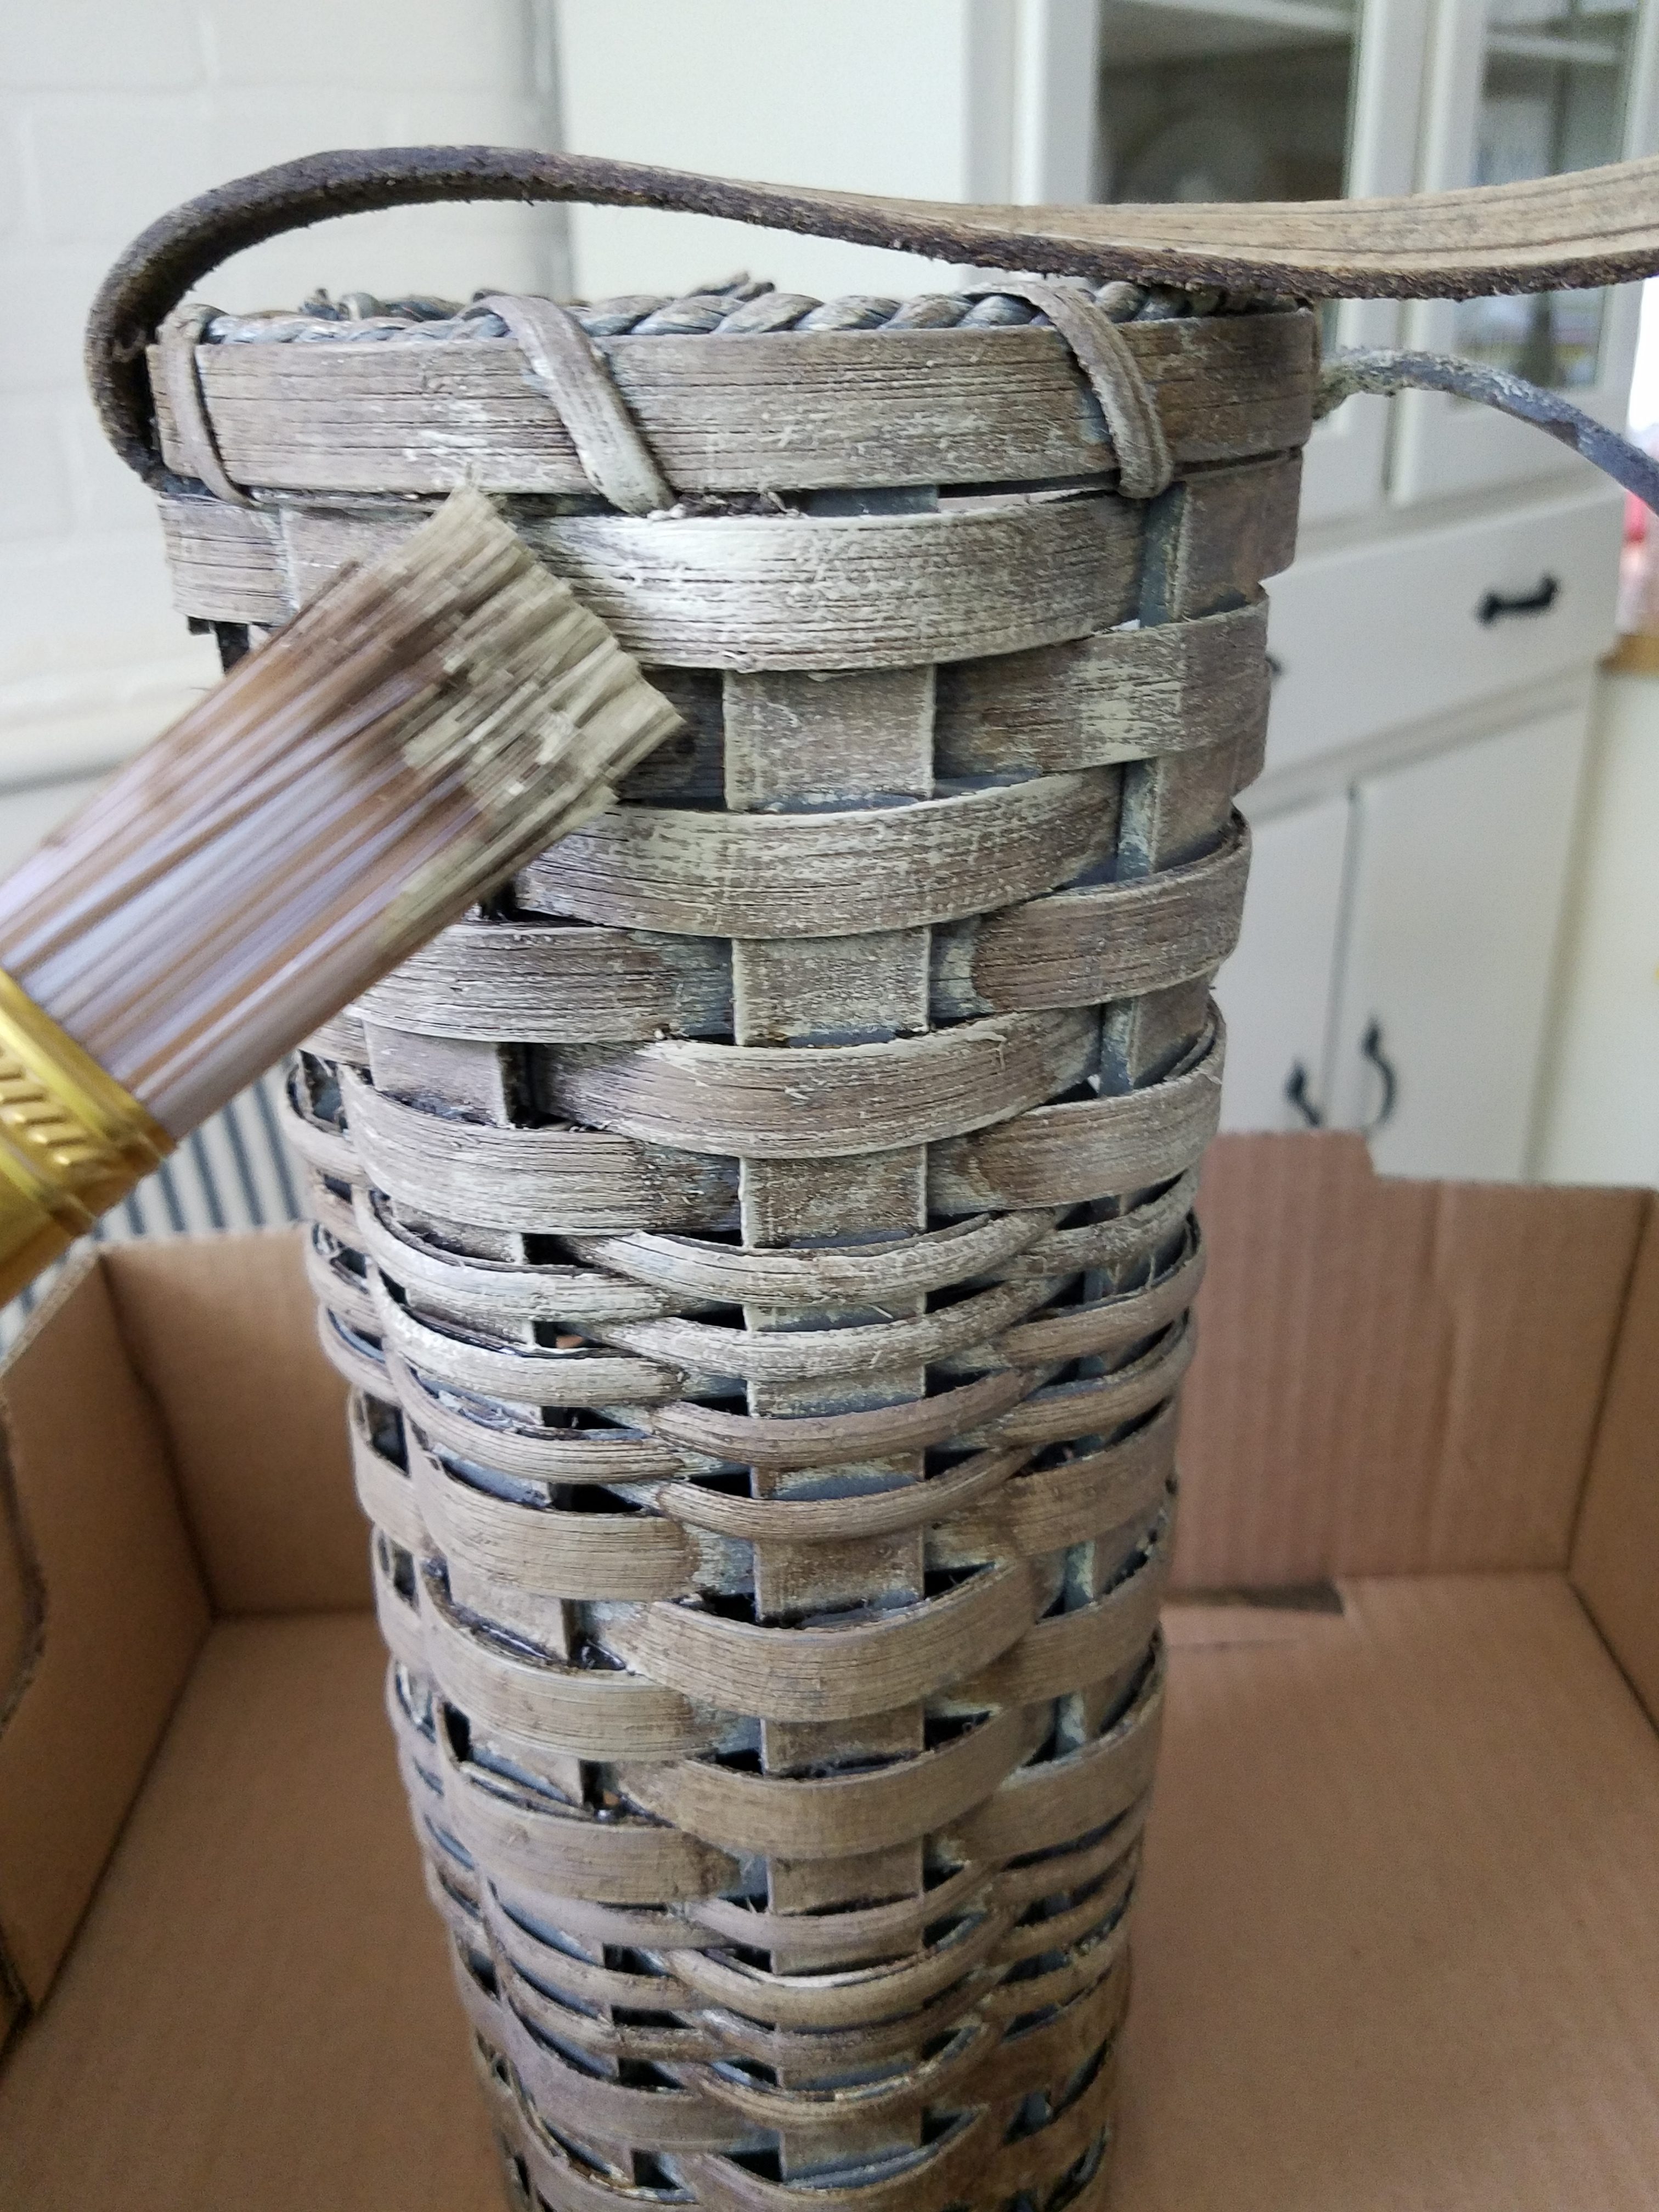
I waited about 20 minutes (chalk paint dries fast) and moved on to the next step of applying Valspar dark antiquing wax. I used the same dry brush technique by dipping the paint brush in the wax, wiping off the excess and then dry brushing around the basket making sure to get into the weave as much as possible. Immediately after adding the dark wax (while it was still wet) I used a paper towel to remove the excess dark wax. *In lieu of dark wax, a medium brown acrylic or chalk paint paint slightly watered down and dry brushed on would also give the same layering effect.
VALSPAR Chalky Antique Sealing Wax
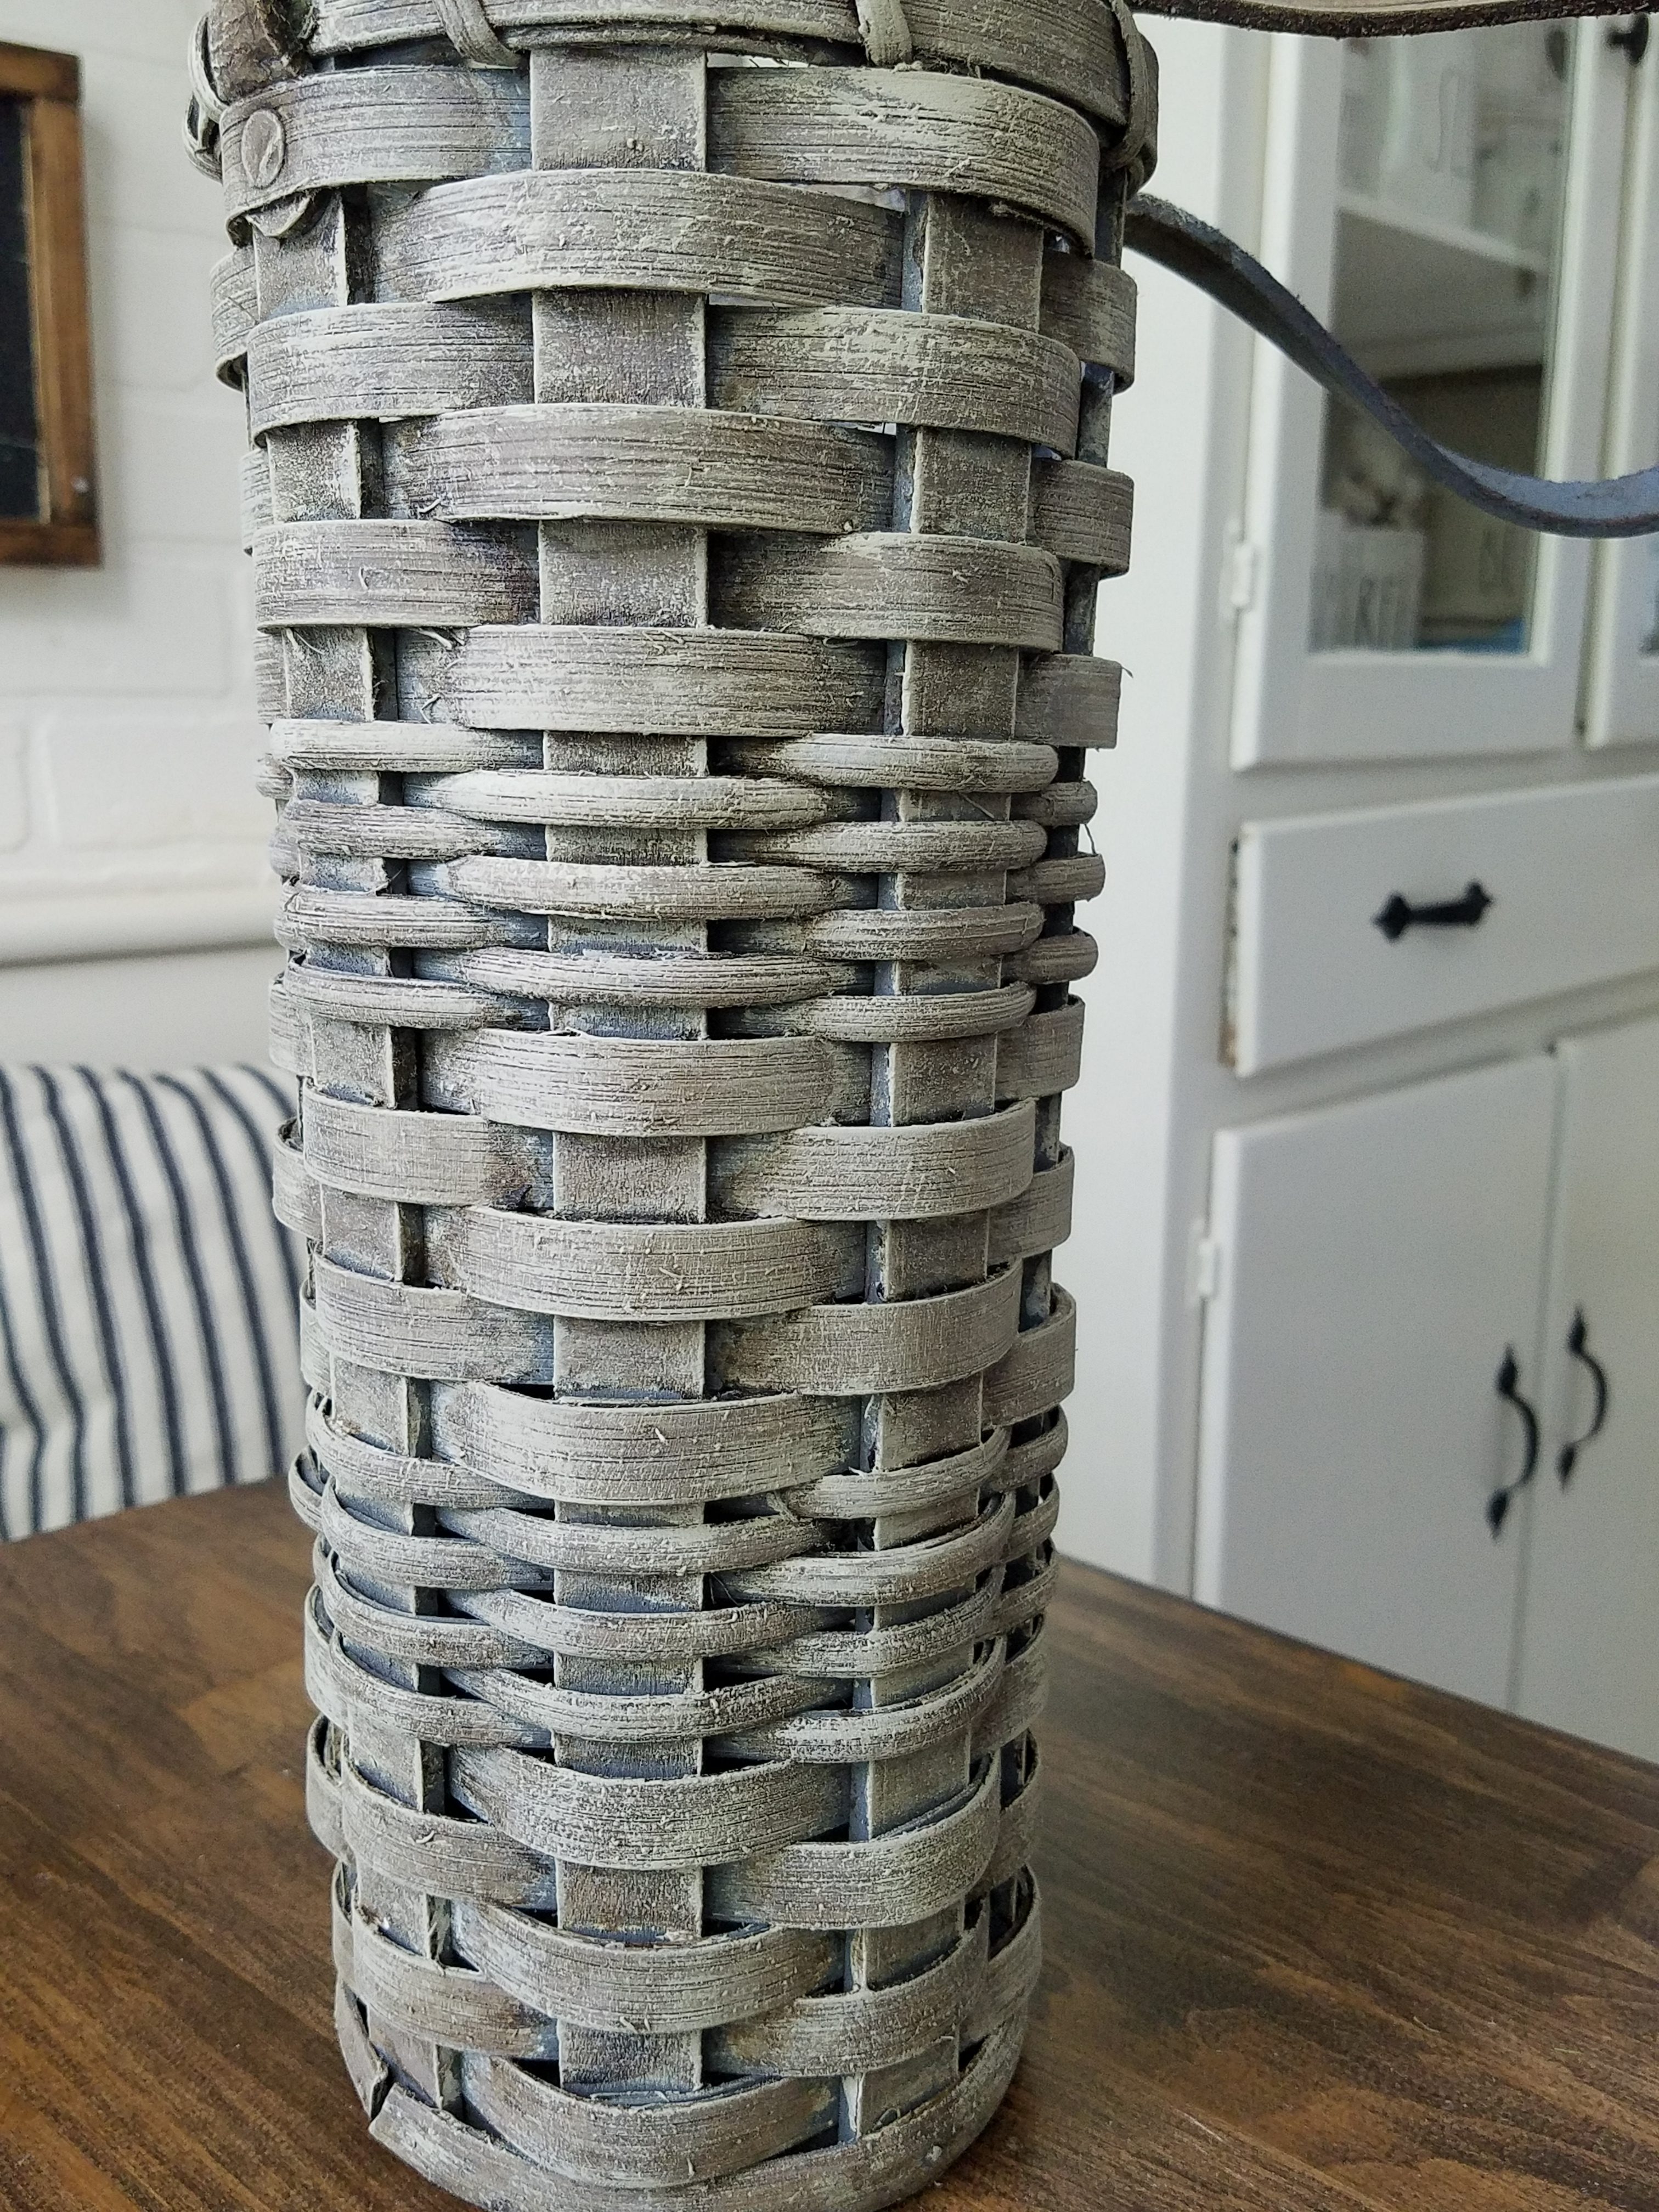
Finally I repeated the “oatmeal wash” around the entire basket and also about 1/4 of the way down inside the basket.
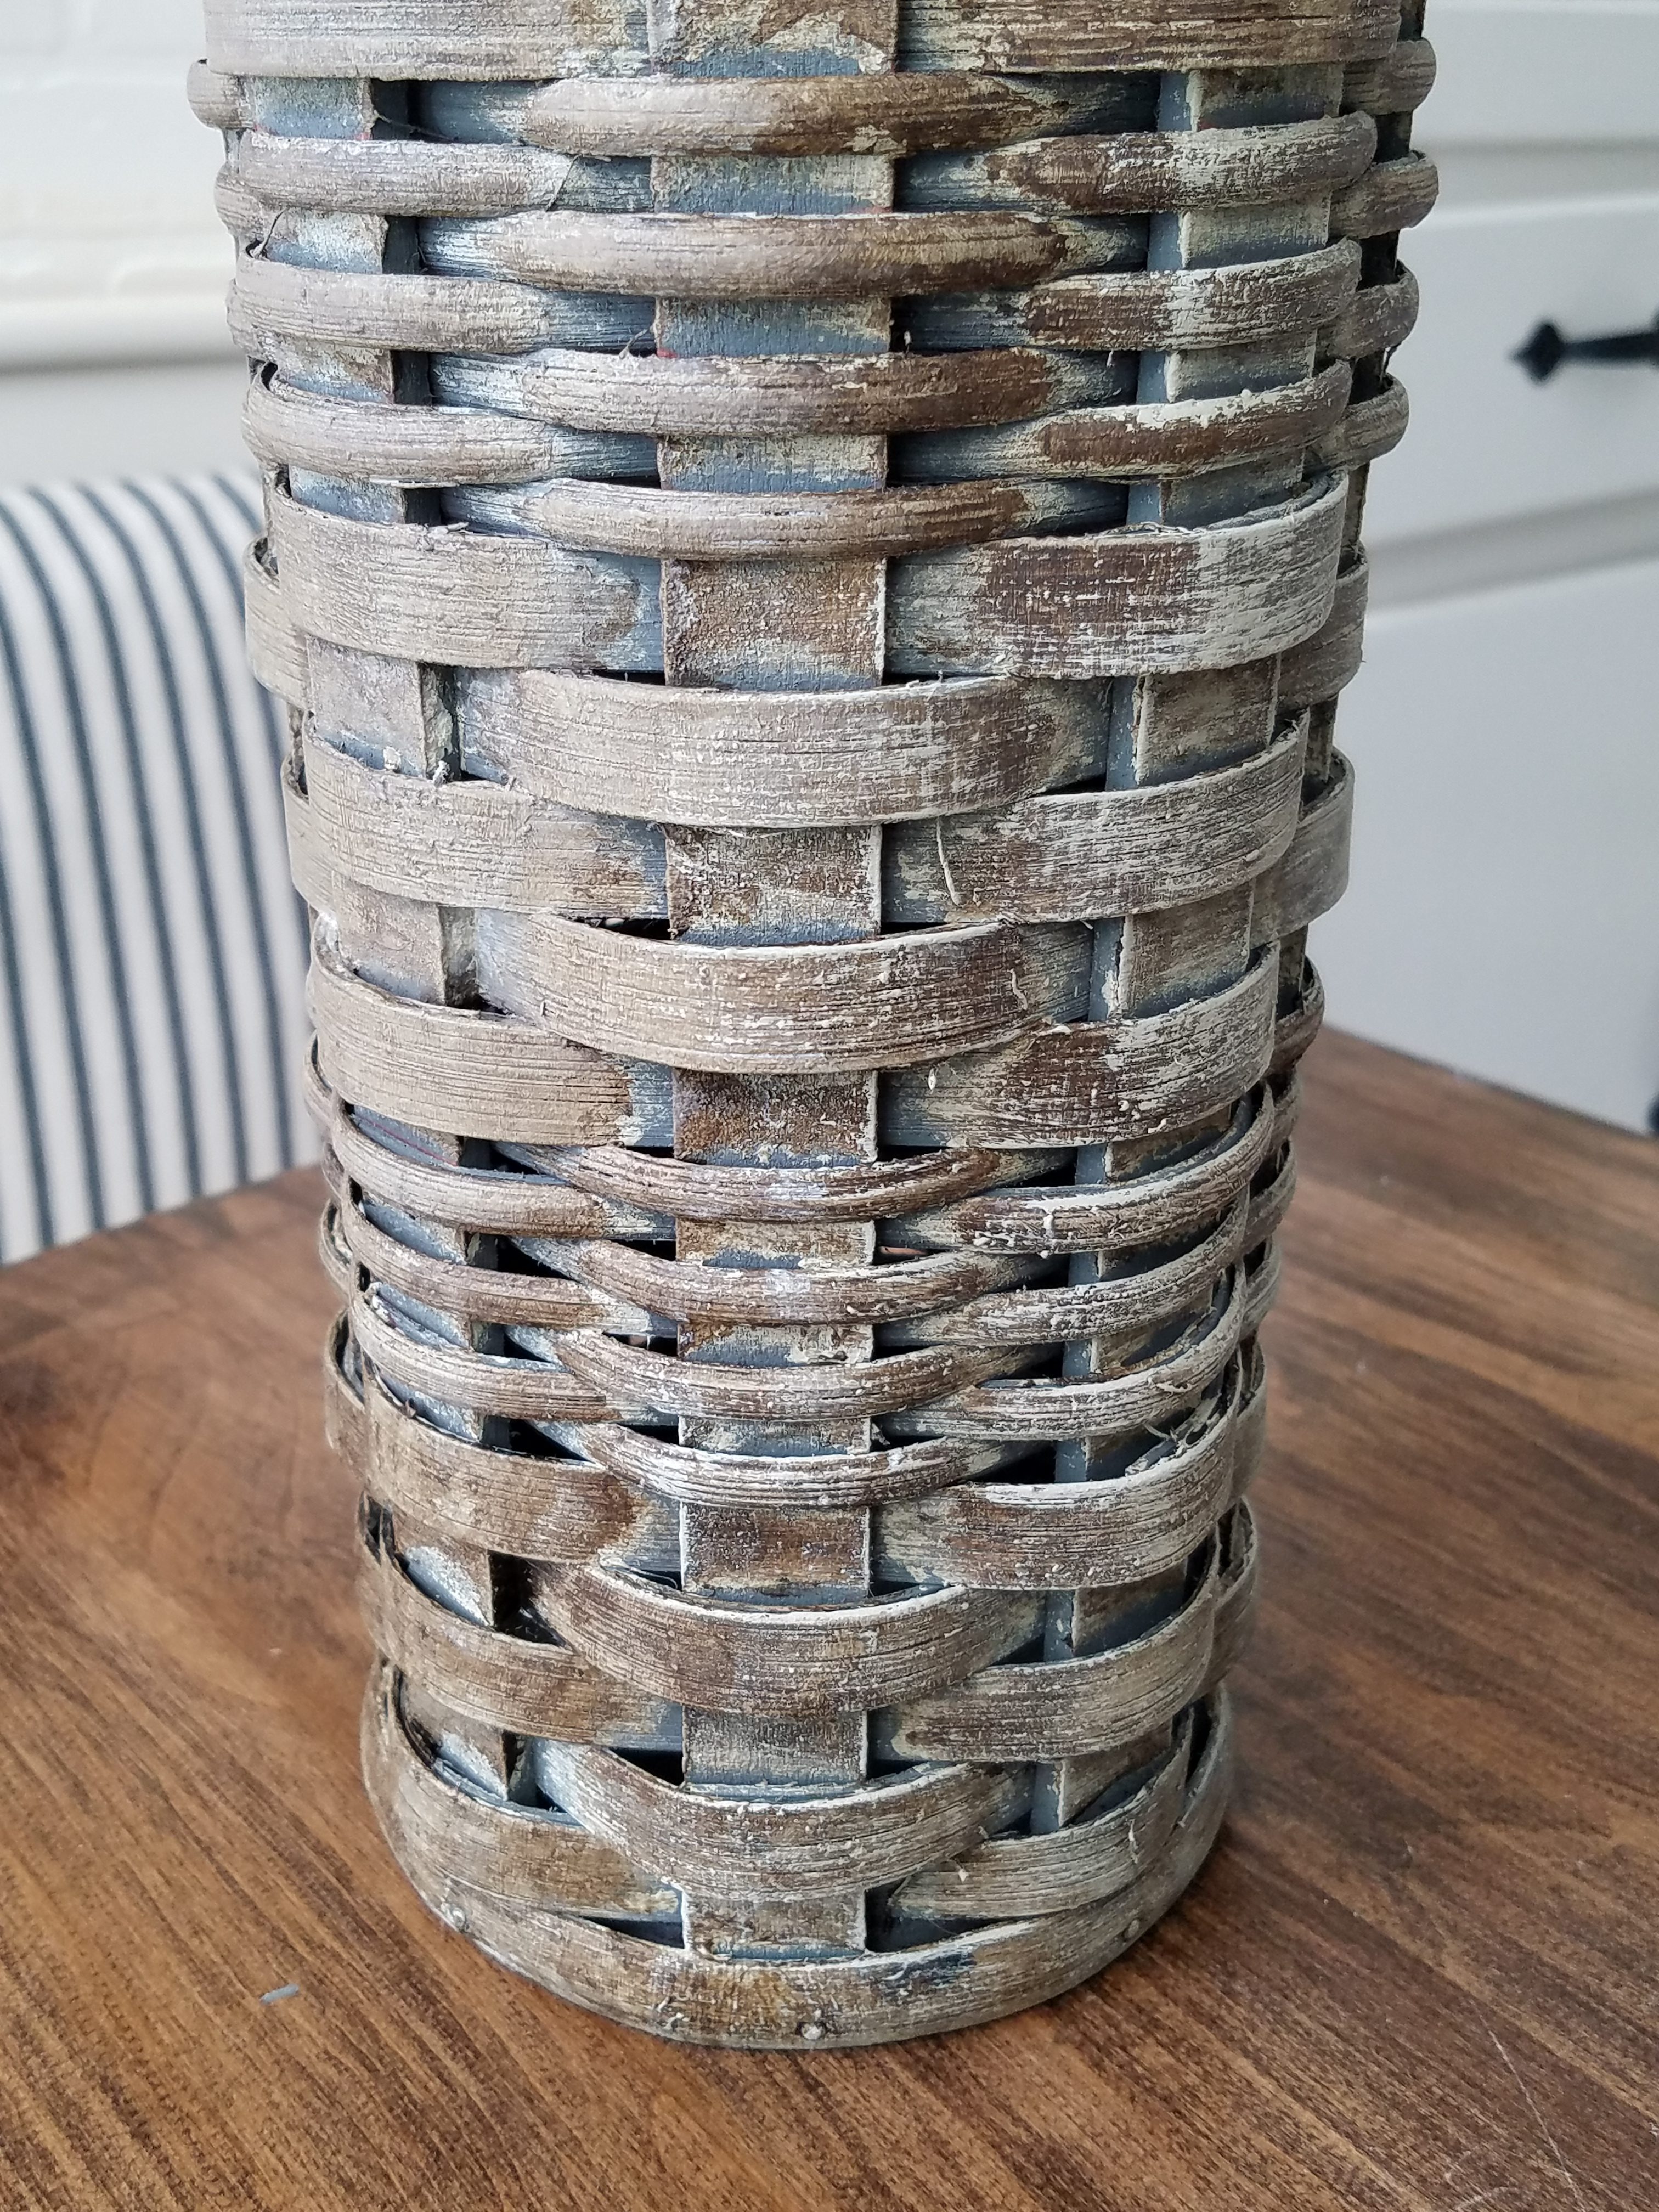
Here is how the basket looked after my DIY gray wash. I was very pleased at this point, as it was looking like I had imagined!
Next I had to make the bluish-gray spray painted leather strap look more like old leather.
Using a glove I simply dipped my fingers into a bit of the dark wax and rubbed it into the leather on both sides.
I wiped off the excess with a paper towel. It is still a bit wet in this picture but as you can see it turned out to look pretty close to brown leather. I ended up doing a second coat to cover any places I had missed and then let it dry while I worked on the a label.
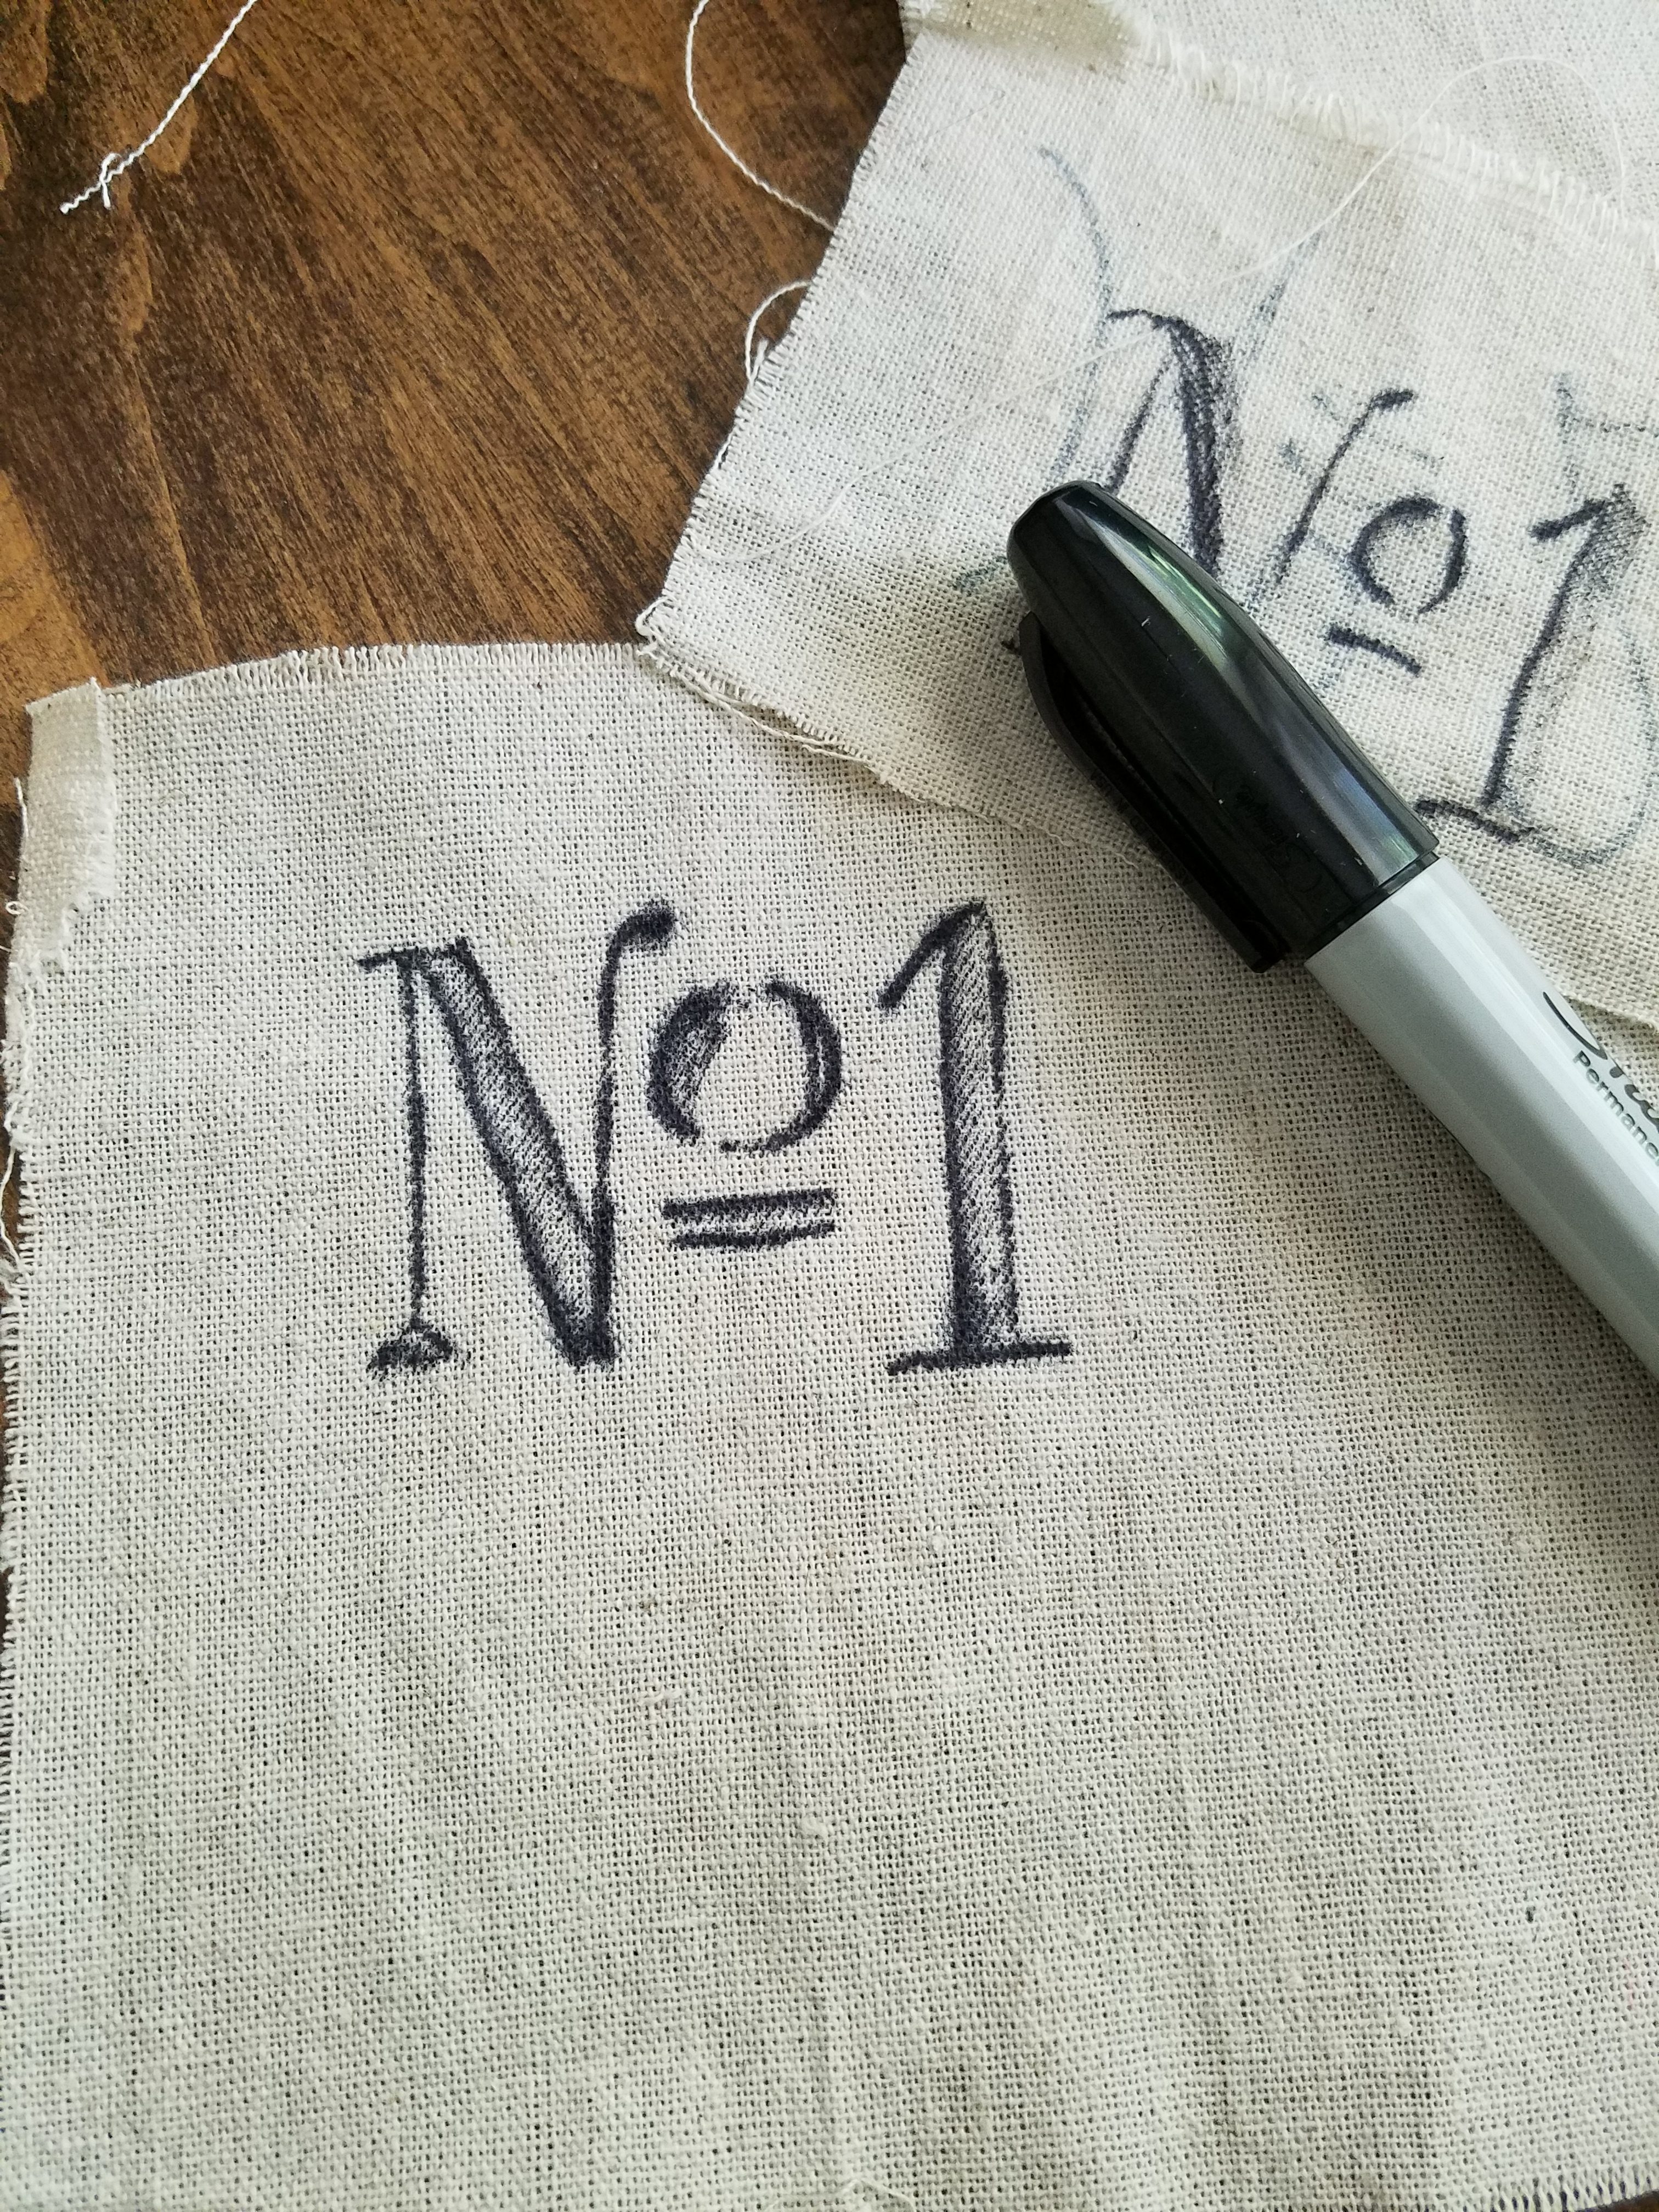
I didn’t have any French style stencils that were small enough for the label and I couldn’t really find a printable image I liked, so I simply made my own “vintage” label using a sharpie. I just drew a graphic of an old No. 1 label using free hand onto a scrap piece of fabric left over from a previous project. The scrap was actually from an inexpensive Hobby Lobby pillow cover $4.99, on sale for 50%). The natural woven material is a great substitute for more expensive linen and has such a rustic, French farmhouse look.
Natural Woven Pillow Cover
I was pleasantly surprised with how authentic the label and basket looked once I hot glued the fabric onto the basket!
I filled the basket with some faux lavender and voila! A beautiful vintage style French lavender basket! I must say I LOVE how this basket turned out! It is certainly my “NO. 1” basket makeover so far!
Blue Lavender Bush~ Hobby Lobby
I am sure I will be using this baskets in lots of ways around my home. Simply for this post I created a little vignette on top of my vintage chest of drawers in the dining room.
I really can’t believe how authentic this basket looks, can you? I only spent $6 total on it since I already had the lavender and I made the fabric label using my stash craft supplies.
I couldn’t resist adding a few more vintage finds from this summer including the sweet vintage bust, a gorgeous black and gold antique picture frame and a pretty vintage creamer with a beautiful purple and gold design. I will share more about these treasures in my End of Summer Junkin’ finds round up post coming up soon.
I love how this whole basket makeover inspired me to create an unexpected vignette with purple and lavender tones. The pretty little card with the purple cherub design is actually the back of an old antique photo cabinet card. I like having it displayed beside the creamer in a vintage flower frog. The dried lavender in the vintage bottles is from my own lavender plants.
I had so much fun with this makeover and I am so happy with how the basket turned out. I know I am going to get so many different looks with it using various florals throughout the seasons. I already have some great ideas for how I will be decorating with it throughout fall.

Well friends, I hope this post has inspired you to gray wash an old basket you may already have or any that you may come across on your junkin’ and thrifting adventures. I am headed out today to hit a few thrift shops, so I will definitely be looking out for any baskets that might be perfect candidates for a gray washed French makeover.
Do you love painting thrifted baskets as much as I do? I love hearing from you, dear readers! Thanks so much for visiting today!
Amber
Sharing at these great link parties:
All About Home A Morning Cup Of Joe Sweet Inspiration The Blogger’s Pit Stop Snickerdoodle Sunday Best Of The Weekend Saturday Sparks Flaunt It Fridays Tuesdays At Our Home Reader Tip Tuesday Vintage CharmThe Scoop Make It Pretty Monday You’re The StarHappiness is Homemade Silver Pennies Sundays Feathered Nest Friday Friday Features Home Matters Pink Saturday Create, Bake, Grow, Gather The Farmhouse Friday Link-Up The Charm Of Home Funtastic Fridays Fridays At The Fire Station Wonderful Wednesdays Waste Not Wednesday Creative Inspirations Keep In Touch Style Showcase Thursday Favorite Things Share Your Cup Inspire Me Monday Busy Monday Make Life Pretty Monday Project Inspired Link Party Celebrate Your Story A Stroll Thru LifeAmaze Me Monday Dishing it Digging It Creative Inspiration Party Sundays At Home Pretty Pintastic Pin Party Friday Feature DIY Show Off Sundays At Home Grace At Home Wall To Wall Wednesday










16 Comments
This paint finish looks so realistic, I love it! Just pinned it!
August 20, 2019 at 5:29 pmVery nice! That’s the same finish I’d like to put on a mantle clock given to us by my in-laws, the current look is shiny fake mahogany….not good.
I found your blog by searching for painted stair runners, your’s is awesome. Did you ever do a tutorial?
August 20, 2019 at 5:48 pmThank you so much! I really think it will work for the clock, I have done some wood fake wood pieces and they turn out nice. It would be good to have some clear wax on hand too. When working with wood sometimes the dark wax doesn’t wipe off as easily but if you just take some clear wax on a paper towel immediately after applying the dark wax you can remove the excess dark wax until you get the desired shade. Then you would just use an off-white or oatmeal color to dry brush over that for your final step.
Actually, I have not had the time yet to do a proper stair runner tutorial, but it’s coming! I will archive your email and send you an update when the post goes live.
Thanks for visiting!
August 20, 2019 at 10:33 pmAmber this beautiful. Doesn’t Hobby Lobby have the best Lavender? Very realistic. I pinned this.
I love the new pieces you put with the basket
Cindy
August 20, 2019 at 9:09 pmAmber, your basket turned out beautiful! You have inspired me to try my hand at it. Thanks for the great instructions!!!
August 21, 2019 at 10:28 amYou did a great job! It looks gorgeous! #TFT
August 22, 2019 at 9:18 amThank you so much!
October 3, 2019 at 9:20 pmYour basket turned out beautifully! I have a hanging basket that needs the same touches! I can’t wait to try it out!
August 23, 2019 at 7:11 pmFabulous. Thanks for posting at Funtastic Friday.
August 24, 2019 at 8:09 amThank you!
October 3, 2019 at 9:20 pmLooks great, Amber! Thanks for sharing at Vintage Charm!
August 26, 2019 at 8:32 pmThis is amazing. You pulled it off, Amber. I love it.
August 27, 2019 at 6:33 pmI love your french farmhouse basket makeover, Amber. What a transformation! It’s been featured tonight at Celebrate Your Story!
September 2, 2019 at 9:53 pmI have a basket that I decided needs a makeover in the worst way if it wants to stay in my home because it’s not currently my style…I remembered seeing your post about this basket so I had to come have a closer look to see what you did to get the look. Here I go with my chalk paint! lol
September 5, 2019 at 1:52 pmHi! Love the way the basket turned out. Really enjoying your blog. Thank you for all of the inspiration.
November 20, 2022 at 8:44 pmThank you so much Cheryl!
November 22, 2022 at 8:02 am