
Welcome back friends! It’s time for my week FIVE update on our “Basement Junk Room-to-Teen Bonus Room Makeover” for the official One Room Challenge! If you are unfamiliar with the One Room Challenge (ORC) it is an event hosted by Better Homes and Gardens for bloggers to share the step-by-step process of a room makeover in only six weeks.

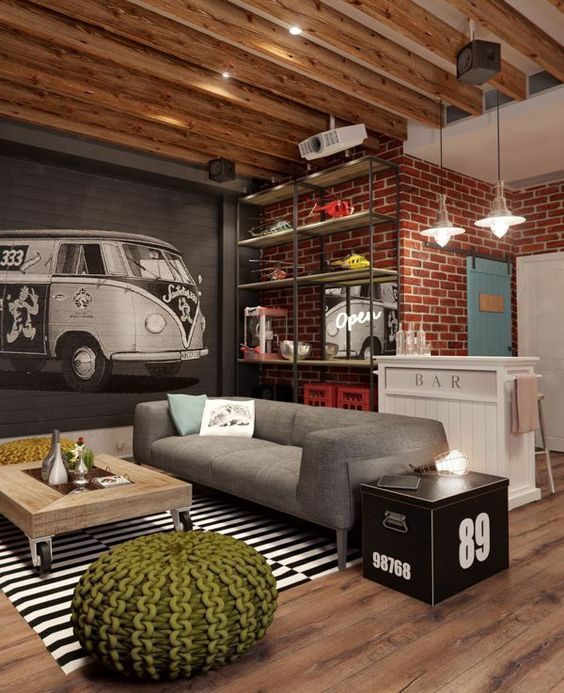
For this challenge the goal is to transform the catch-all junk room in our basement into a fun teen hangout/bonus room for our 14 year-old son and his friends to play guitar, video games, and watch movies. The room is small but we are wanting to give it a rustic, vintage-industrial vibe similar to the photo below (minus the bar).
Before we get further into this post I want to share a reminder about safety when it comes to basement renovations. We have lived in our house for five years and I wanted to wait at least a couple of years before we put any money into renovating it because I was watching for mold and water issues. Having dealt with dangerous toxic mold exposure and a sufferer of mold biotoxin illness, I didn’t want to create a room that looked good, but had mold lurking behind the walls. Before even putting an offer on this house one of the first things we checked for was mold and musty smells. To be honest this is the only house I have ever lived in that doesn’t have mold problems, and it was an answer to prayer! Even this past winter I had a mold remediation team come out and check our entire basement again just to be on the safe side, and all was clear. I am extremely sensitive to mold so I would smell it or feel light headed right away if there were any issues. Since everything is dry and safe, we felt confident in proceeding. Also, there is no asbestos in the basement so we didn’t have to worry about that either.
*Important note: Before doing any DIY renovation it is very important to have your walls and ceilings checked for asbestos before you go ripping them out! Asbestos is toxic and can lead to mesothelioma so it’s better to err on the side of caution and get an expert opinion.
Here is where we were two weeks ago:

Last month we found a great deal on this Broyhill entertainment center at a local thrift shop and we thought it would be great for the bonus room. We knew we wanted to add bookshelves to each side to make it look built in and to cover up the basement window and a weird corner pipe access in the left corner of the room. For safety reasons, we are going to keep the entertainment center free standing so it can be moved out and the window and pipe access can still be easily accessed. If you are doing any type of basement renovation, it is important that you still have access to windows (preferably ones that can be opened) for adequate ventilation when painting or sanding drywall.

My son loves the the look of guitars hanging inside built-ins with lights. Although we aren’t going to paint the entertainment center, this is the general idea of the look we decided to go for. You might be wondering about humidity in a basement, but actually guitars do better with a little humidity than dry heat such as in an attic. When the room is not being used and the guitars are not in use they will still be stored in the guitar cases to be on the safe side. It stays relatively cool in the basement during the summer but putting in some extra duct work for hvac is always a future possibility if it turns out that the room gets a lot of use. Of course HVAC is not a DIY job, so we will definitely be looking at professional air conditioning replacement services we decide to do so.
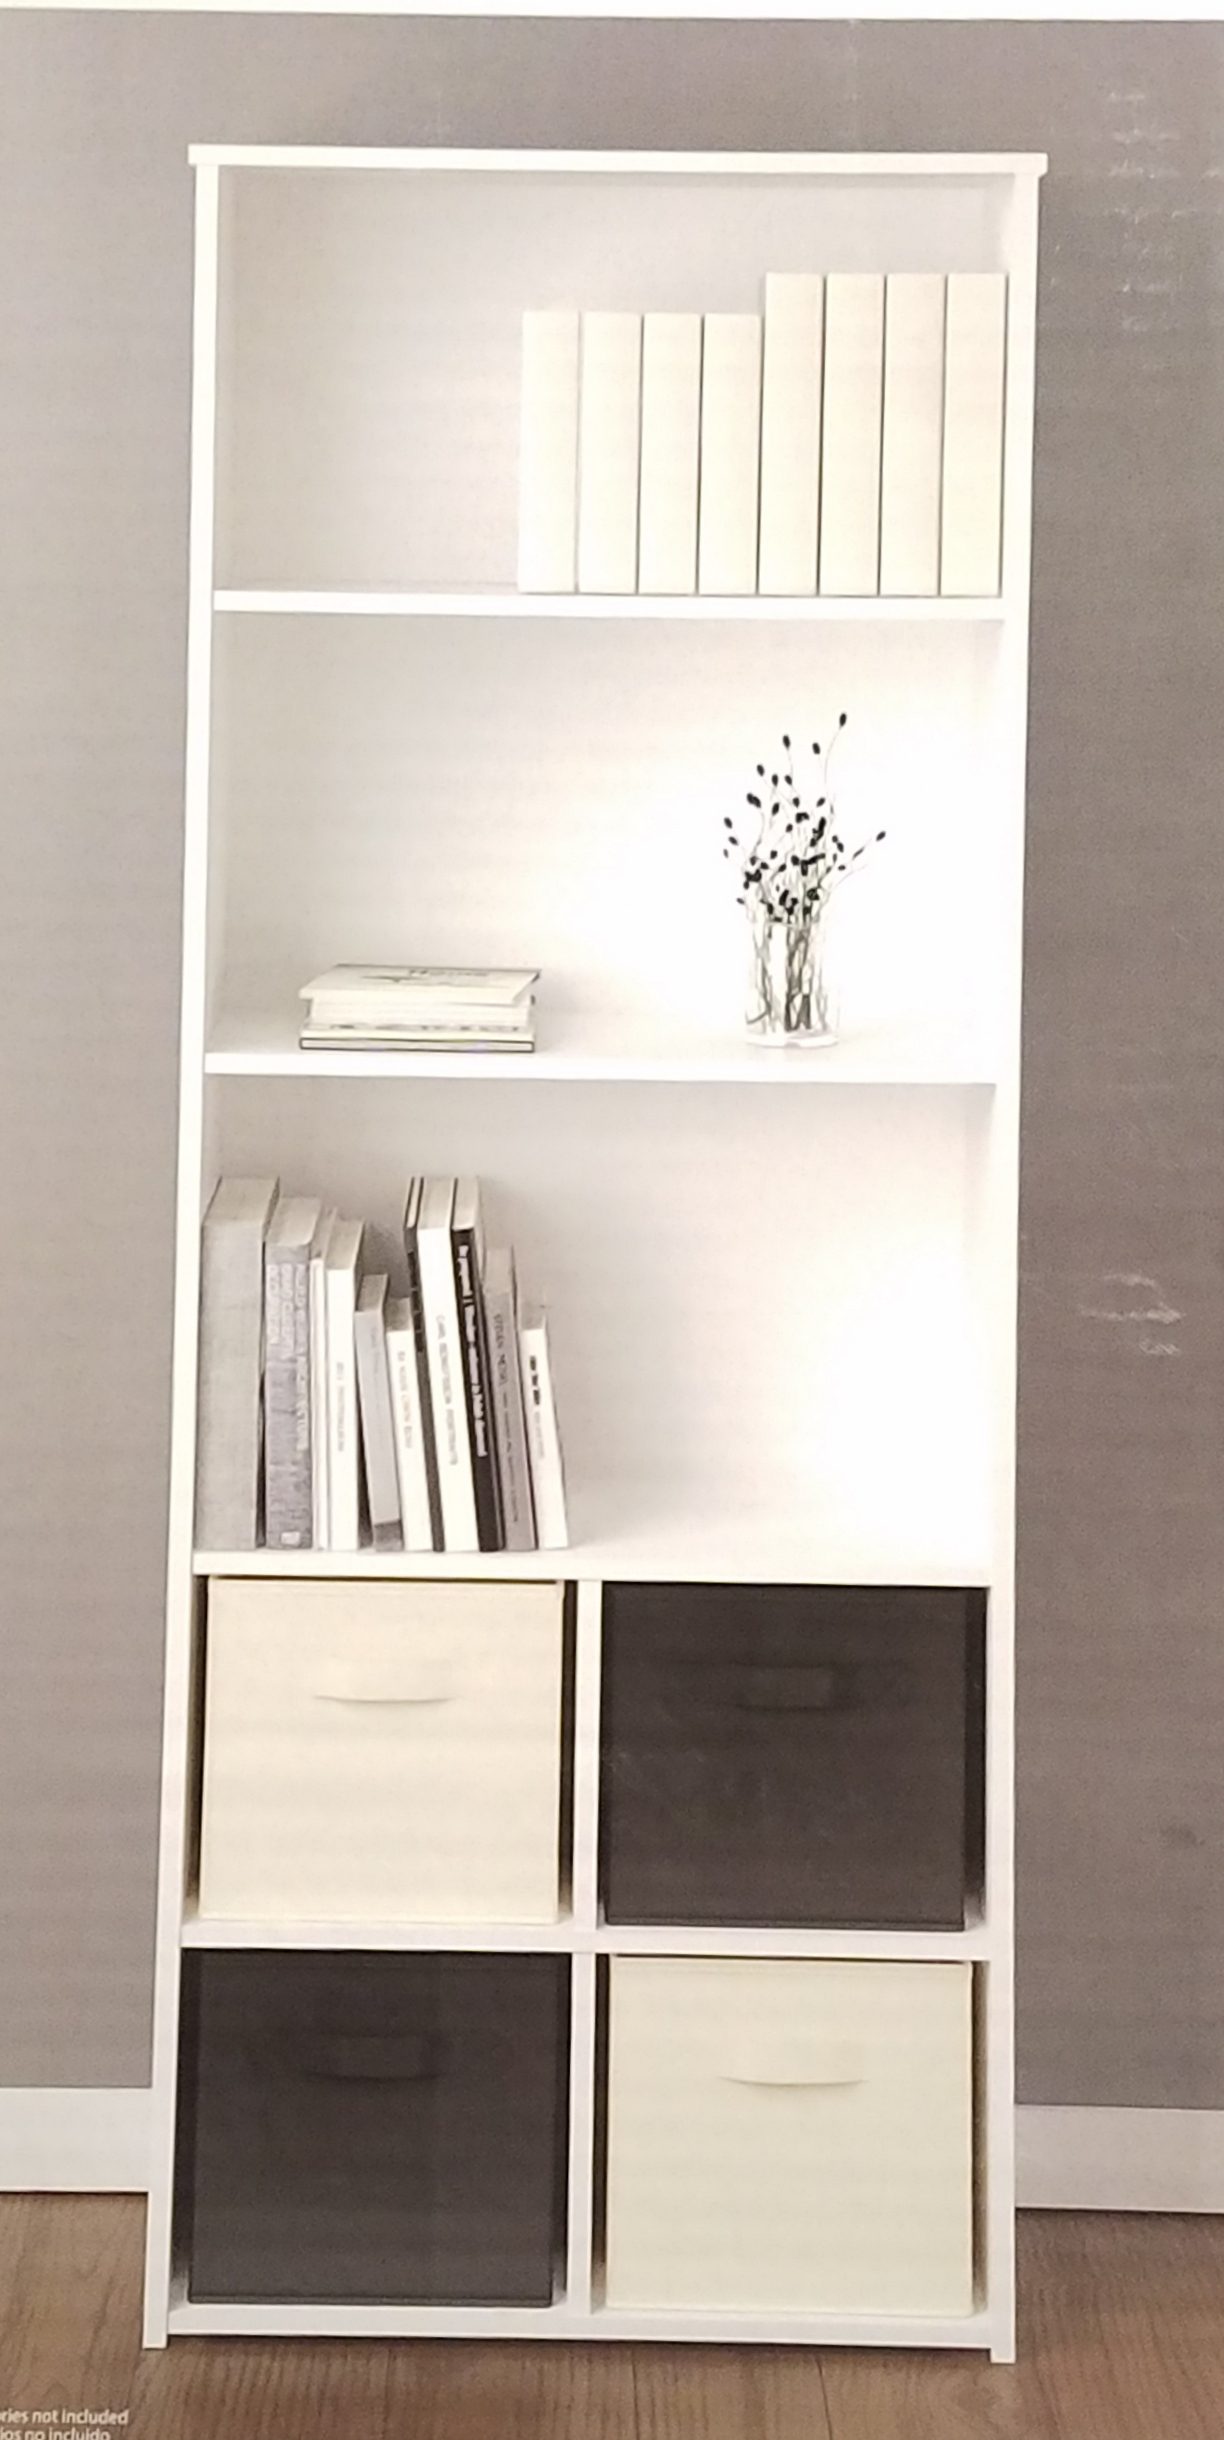
Instead of building the side shelves from scratch, my husband “hacked” two of these inexpensive shelves to save time and money.

Last week he modified the entertainment center by removing the four large knob feet and the moldings around the top sides. He built a frame around the shelves using two by fours. The hardest part of this job was leveling up the new unit. As you can see here the floor goes downhill to the left because on the back side of the wall between the bonus room and laundry/utility room (where the original floor drain is located.) It really isn’t as noticeable in “real life” as it is in this picture, and once he finishes out the bottom it will also look better. It is coming along great! As you can see, once the back paneling and the back and top are finished with drywall, you will no longer be able to tell there is a window or any space behind the unit.

The goal was to paint the sides of the built-ins black and to line the inside back walls with reclaimed wood or pallet paneling from Home Depot (similar to the look in the photo above).
 The guitars will look great displayed hanging in front of the pallet walls in the built-ins.

Home Depot Authentic Pallet Wall Paneling
As usual in these types of home improvement projects, things don’t always go according to plan. We ran into a bit of a snag when we went to Home Depot to pick up the paneling and they were sold out. The new shipment is not going to arrive before the end of the ORC. Instead, we used some inexpensive vinyl flooring that we found at a local outlet store.

My husband had to take the book shelves back out of the “built-in” entertainment center to add the pallet flooring to the back of the book case and to hang the guitar hangers. The flooring turned out to be a great choice and saved us a little bit of money. So far it is looking just like we wanted, but the rest of the room is back in chaos and I don’t really have any “progress” pictures to share other than the addition of the pallets. Still, we feel like we are on target to finish up by week six!

It’s hard to believe that it is vinyl flooring and not authentic pallets! Best of all it is waterproof which makes it a better choice for the basement. While it is a dry basement, I just feel more comfortable with it being waterproof.

A few weeks ago we decided to paint the ceiling black to really give the room an industrial feel, but we still haven’t gotten around to it. Painting is on the agenda for the week ahead!

We have realized that there is no way to update our laminate flooring in time for the sixth week reveal, but sometime over the summer we will probably remove the laminate and replace it with some sort of tile. We also love the idea of saving money and using the existing concrete. Polished concrete floors can be so beautiful and the are easy to care for. They also have a very rustic industrial vibe.

I still need to pick up 8 baskets or bins from the Dollar Tree to makeover to look like industrial locker baskets for the bookshelf cubbies. I have been checking out lots of great tutorials on Pinterest and I already bought the spray paint I need.

I definitely want the bins and baskets to have a similar look and finish as the industrial chair I found for the room. The chair is the perfect height and style for guitar playing.


I am still searching for the coolest industrial teen/music themed decor for the room. I found two amazing black faux leather bean bag chairs and matching ottoman that are going to be absolutely perfect for the space!

They are already getting lots of use in our upstairs family room so I may end up having to order an extra to keep upstairs too. I will share them all styled up in the bonus room for the big reveal at week six.

I also came across this rug on Pinterest, I think it would be perfect too!
Week Five goals:
~Finish out the built in with dry wall.
~ paint bookshelves
~Paint ceiling black
~Add faux brick around electric logs insert
~DIY industrial locker baskets from Dollar Tree
~Finish the thrifted stools makeovers I shared in week three
~Find cool junk for decor!
Well, that sums up this week’s progress on our “Basement Junk Room-To-Teen Bonus Room Makeover.” If you missed weeks 1-3 you can check them out via the links below.


I hope you will be sure to stop by the blog this coming weekend to see the progress. Things should really start coming together this week!
Thanks so much for visiting today!
Amber
No Comments