This post contains affiliate links.
Shiplap is definitely one of the hottest trends in home decor these days thanks to the show Fixer Upper and the popularity of farmhouse style. I originally thought the craze would have died off by now, but shiplap is still showing up in all types of homes and it seems to work well with many different decorating styles. I don’t really decorate solely around trends, and it took me a while to warm up to the “shiplap fad” as I called it. I repeatedly tried to convince myself I would not fall for shiplap but there were just too many beautiful rooms popping up in the decor world. I still didn’t want to commit to covering my walls with an expensive wood treatment that I would be sick of in two years once the fad was over. In addition I didn’t really think I had anywhere to use shiplap.
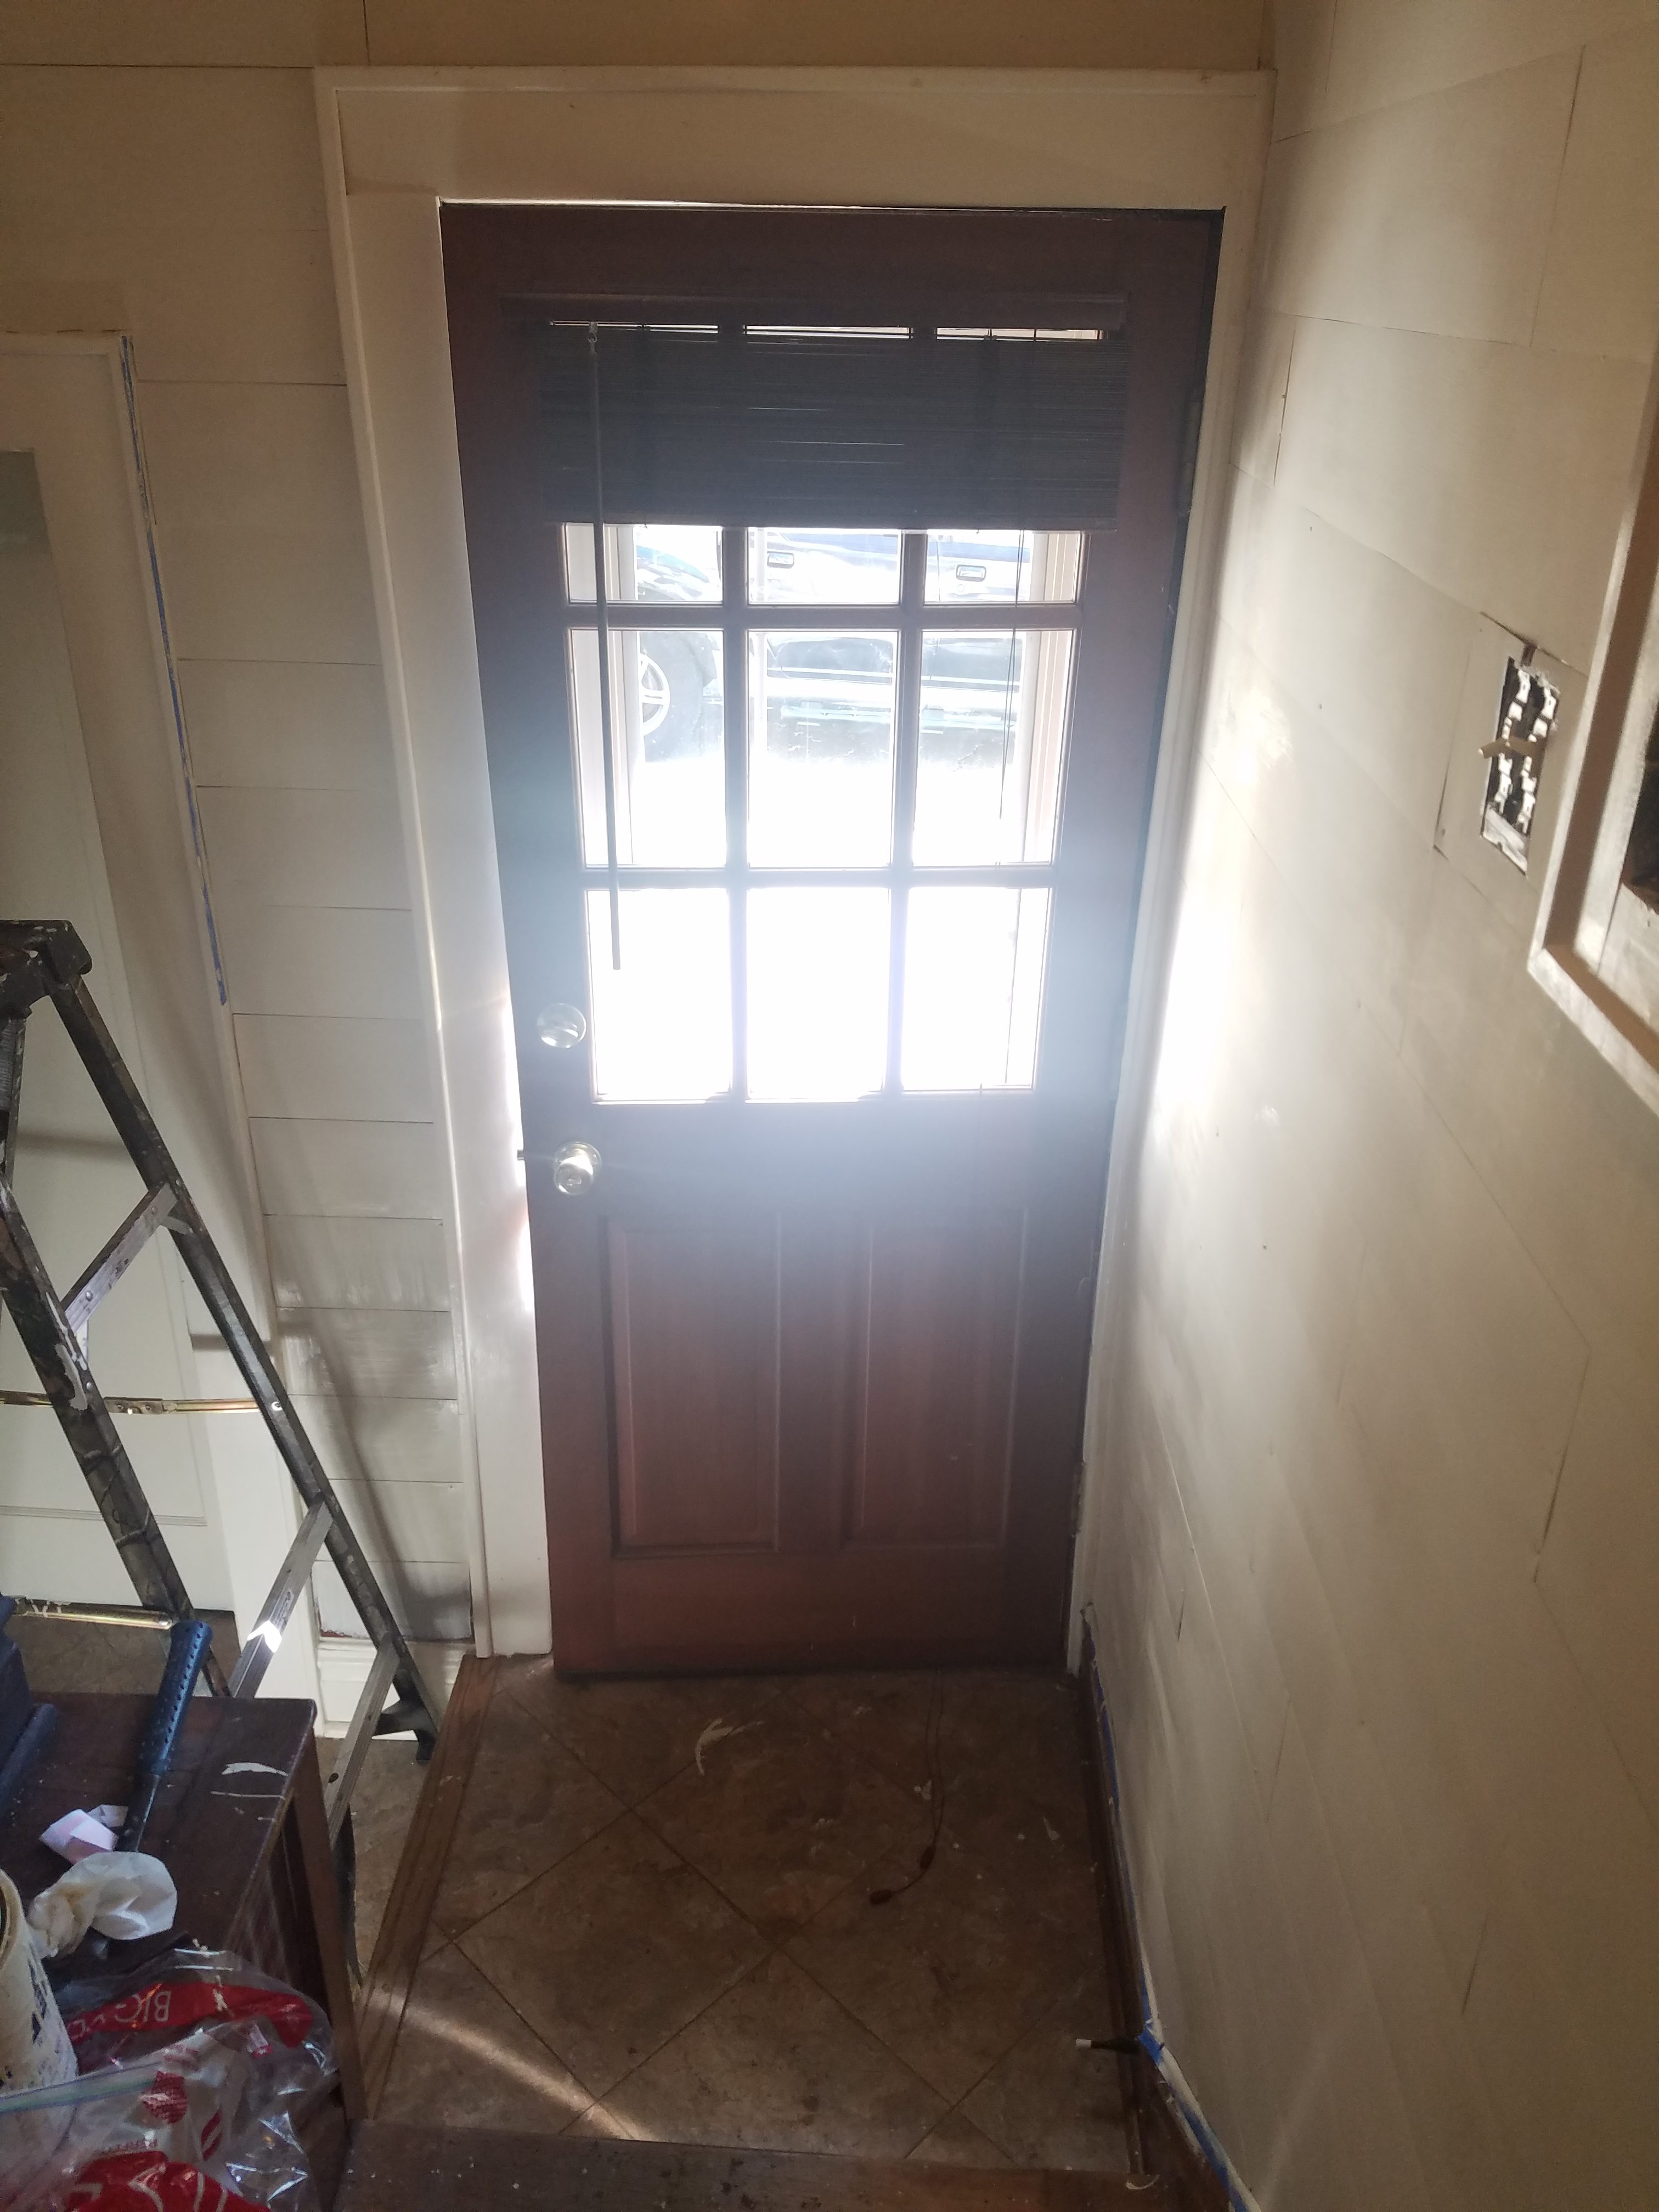
We had a very dark mud entry/hallway space in between our kitchen and living room with plaid wallpaper which made the rooms seem very disconnected. One day last fall I couldn’t take the darkness any longer! I was in the mood to do something different and I began to wonder if shiplap might actually be a good way to lighten up the area and give it an updated, yet vintage look. As you can see in the picture below, something needed to be done!
Before…um, no.
Obviously the space was very dark, even on a sunny day. When we moved in we covered over some old unsightly wallpaper with plaid wallpaper. I love plaid, but looking back I blame this choice on the fact that we moved in just two weeks before Christmas. I was going for a traditional English cottage look but it ended up looking more like a dated country style and I was never happy with the wallpaper. Last summer we painted our living room a bright, creamy off-white, and our kitchen is also bright and white. This made the hallway space seem even more dreary and it really needed a makeover. I remembered some peel and stick laminate wood flooring at the Family Dollar store I had just seen a few days before.
It seemed like a crazy idea, but I figured it was worth a shot since it was so inexpensive at $10 a box.
Basically I just bought a few boxes and two days later I had some brand new shiplap (sort of) and a completely updated, bright space. Best of all it was only about $60 and didn’t require any power tools! Anyone can do this job!
That’s more like it! Thanks to my “bright” idea the whole space is now more airy, cheerful and connected.
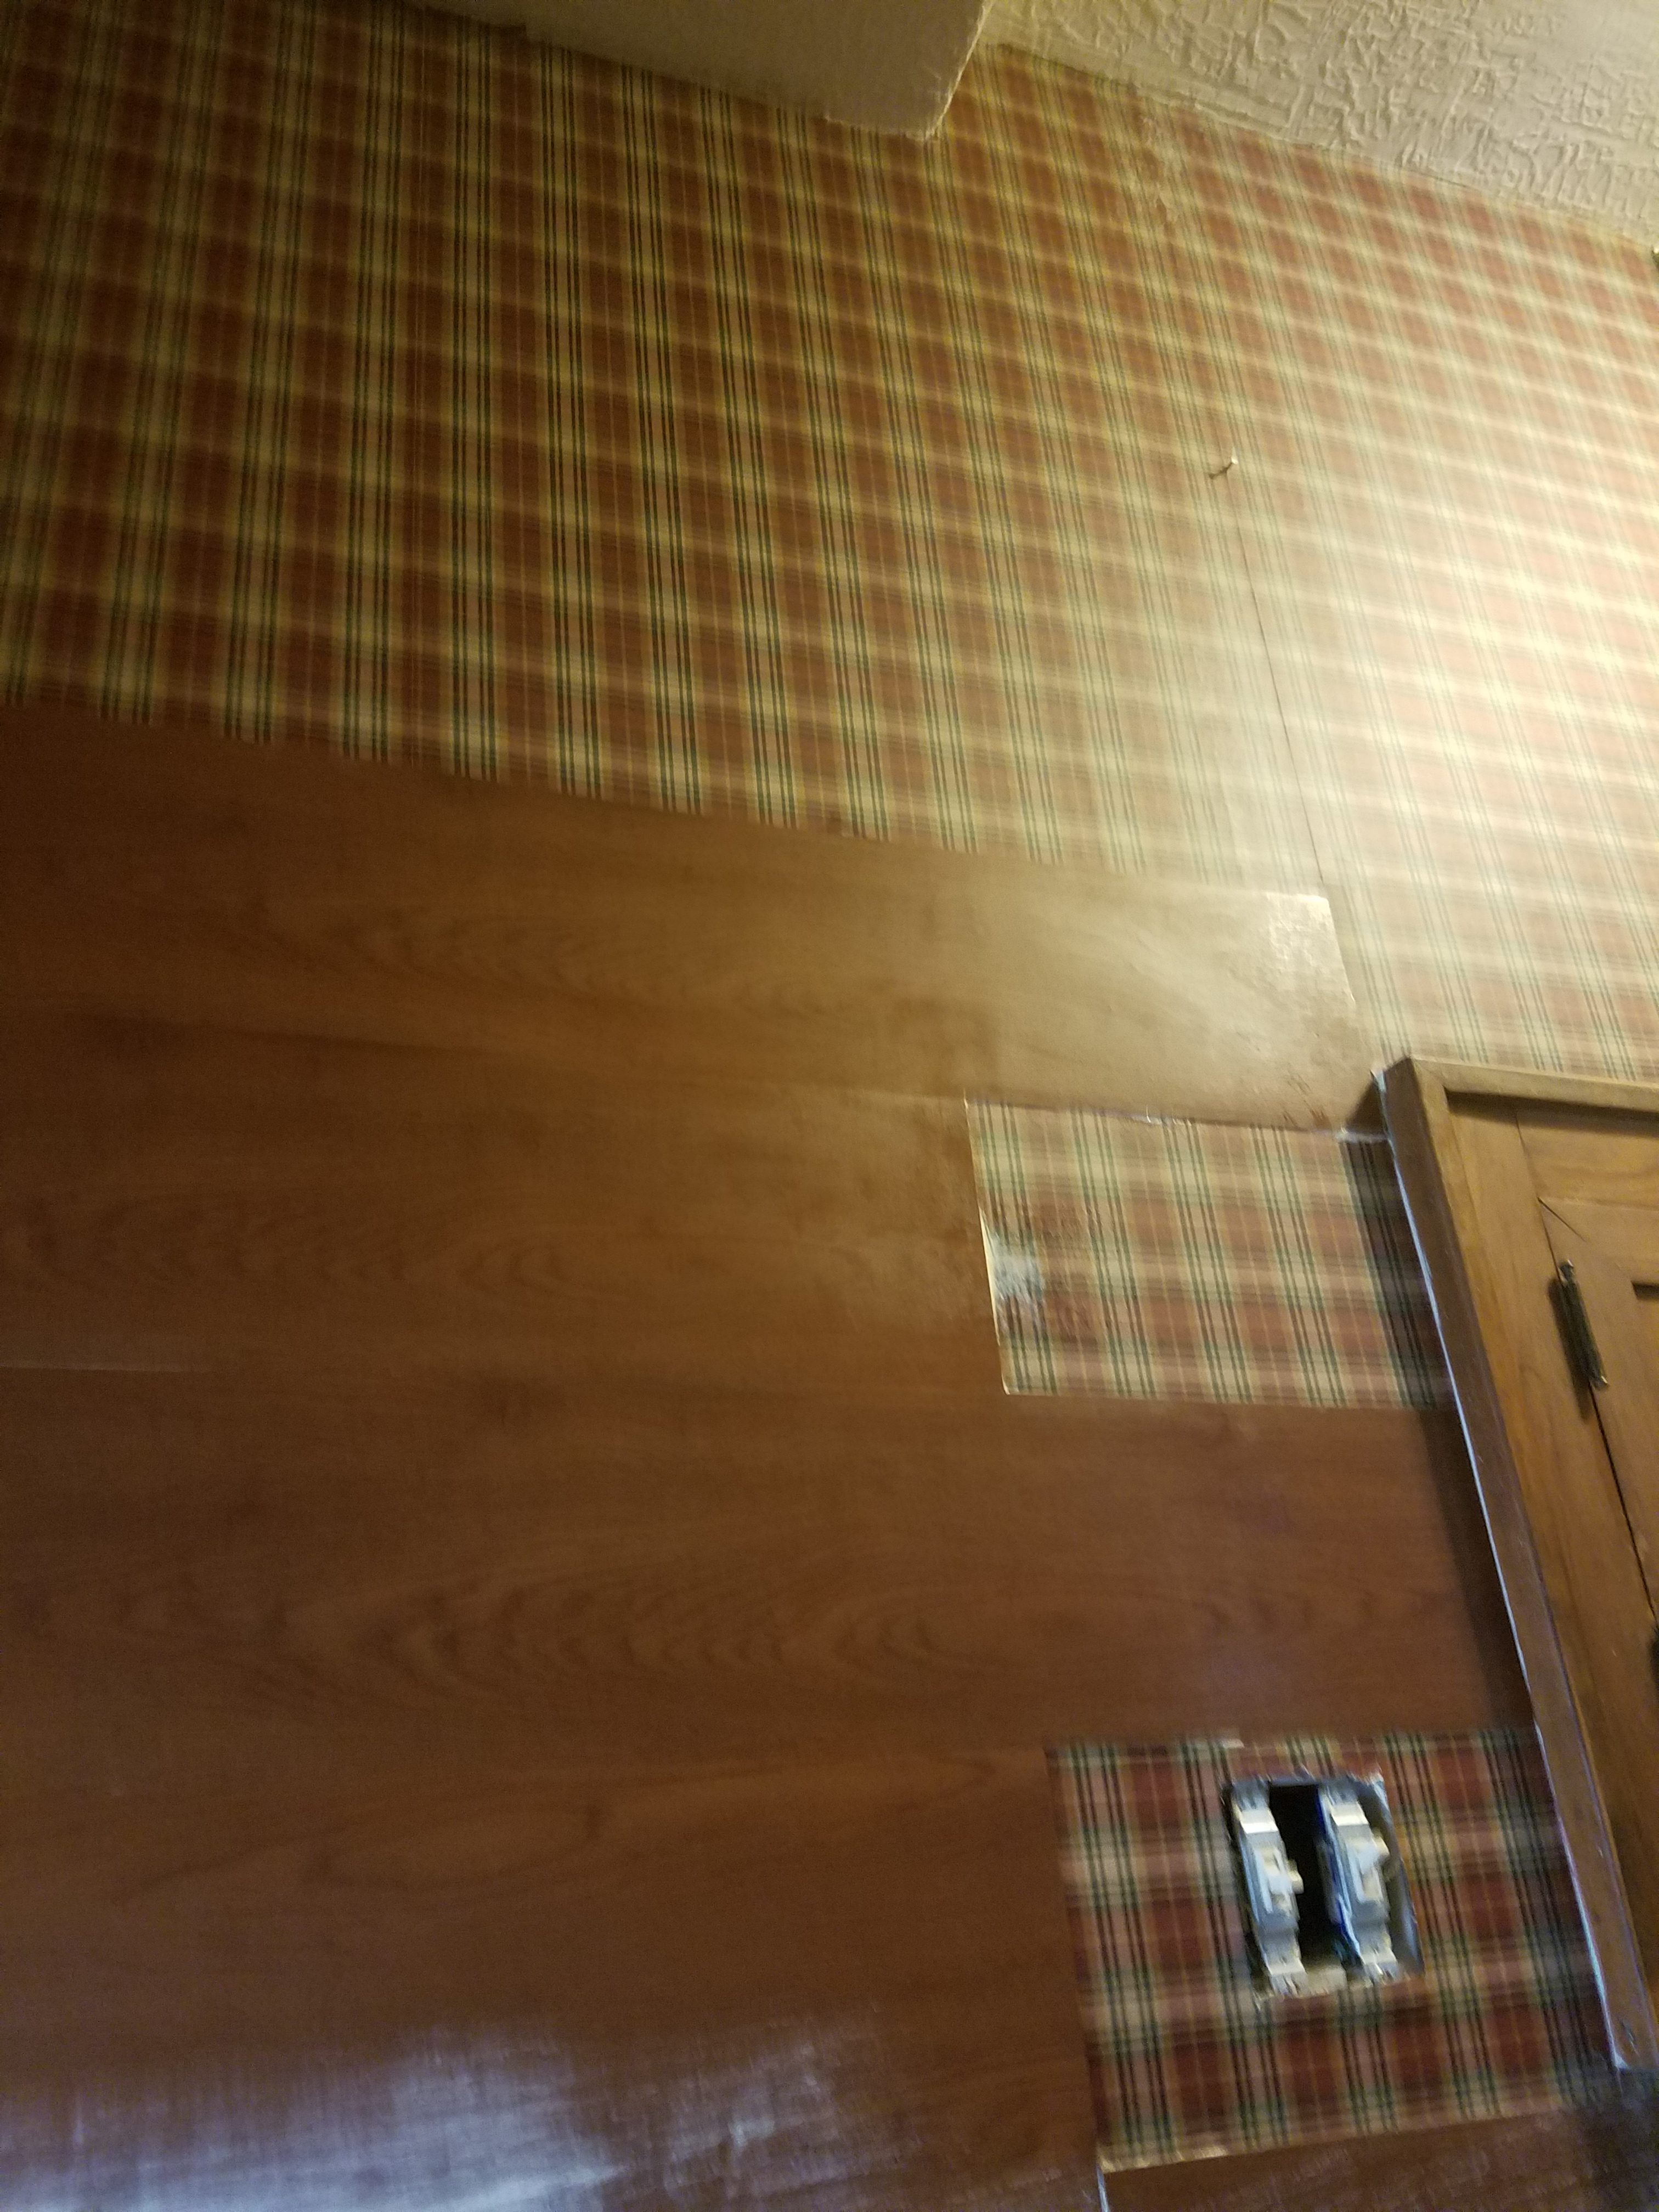
At first I was going to just paint all the wallpaper until we could do a more permanent board and batten. The walls ended up being too bumpy and the wallpaper bubbles showed up even worse when I started painting. That’s when I decided to try the peel and stick vinyl flooring to create shiplap.
This picture is a little blurry but honestly at the time I had no idea it would turn out so well and eventually become a blog post. I didn’t really have a method so I just began sticking the flooring on the wall. I wanted uneven boards like real shiplap. I used full pieces and cut pieces at various lengths to fill spaces as I went along. It was very easy to make my cuts with a utility knife. I didn’t even use a measuring tape or ruler! I just gently stuck the flooring up on the wall to get it to barely stick and made a mark where any pieces needed to be cut. Then I took them down and cut them individually piece by piece.
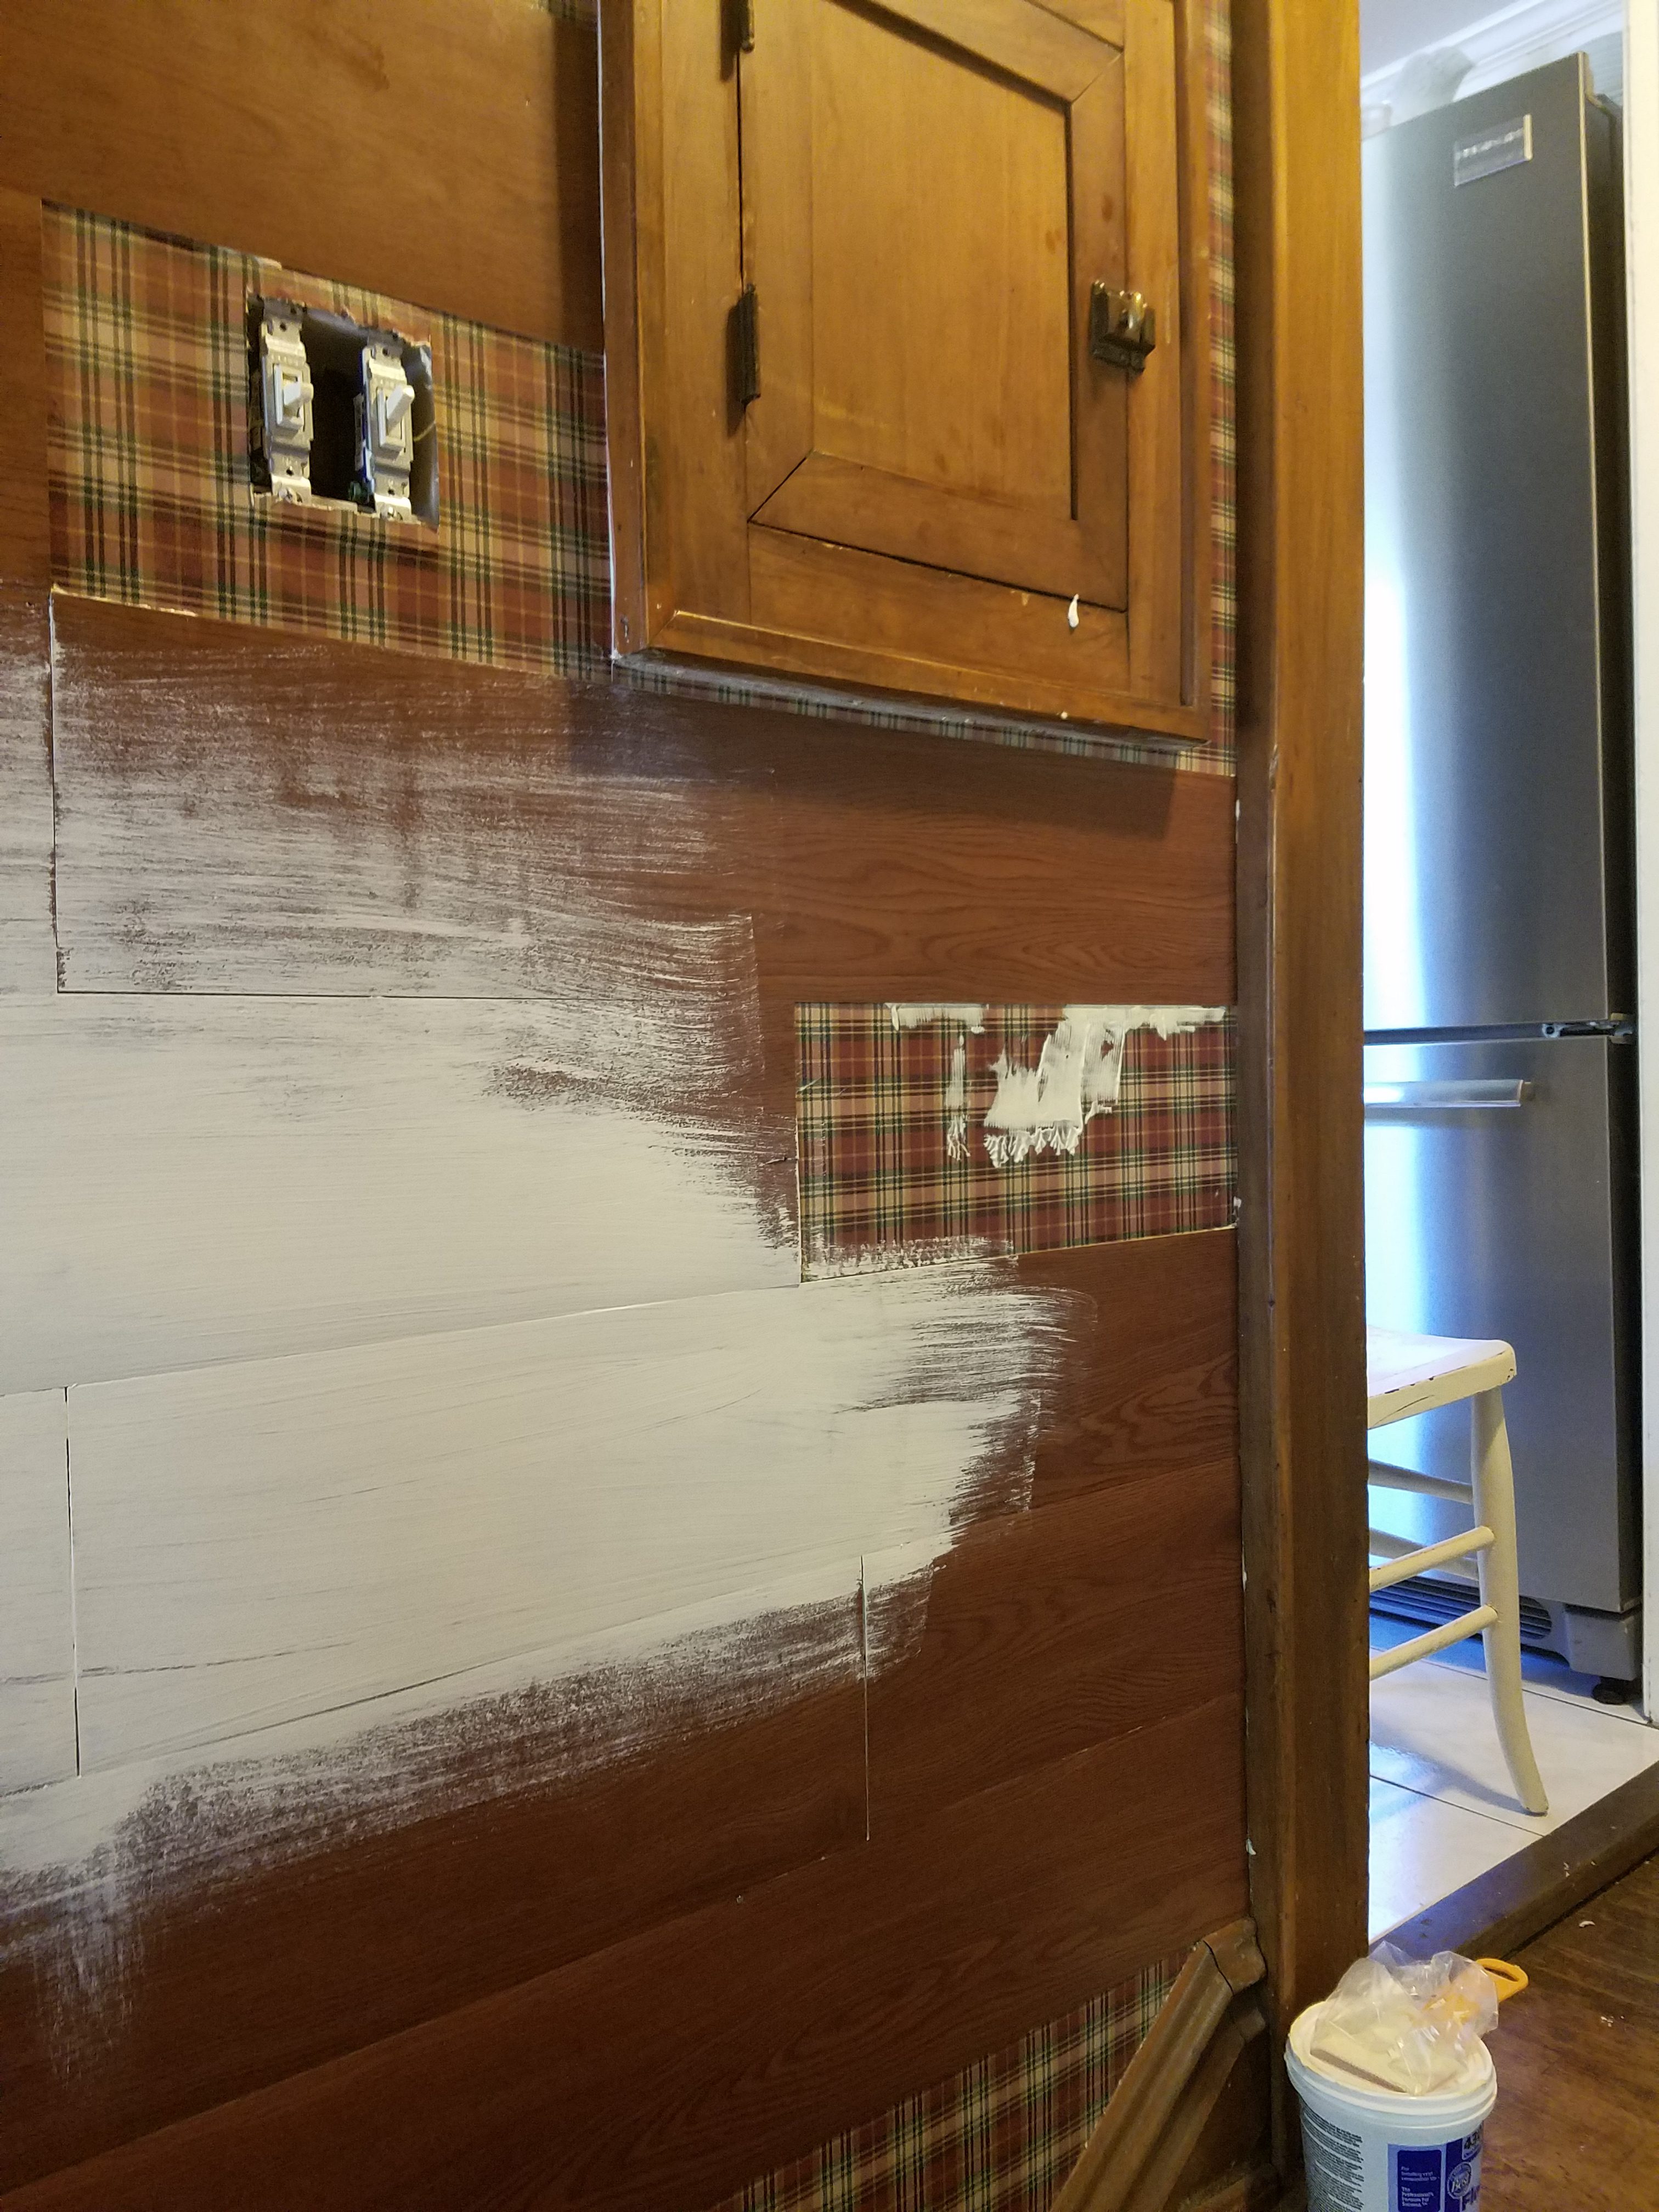
At this point I realized I probably should make sure the paint was going to stick to the slick vinyl floor before wasting any more time and energy. I slapped on some flat white paint and let it dry to see if it would stick. It didn’t! The planks needed to be primed. Realizing that chalk paint had always stuck to anything I had painted and it is much less toxic than standard primer, I made a DIY chalk paint with flat latex paint, plaster of Paris and warm water. This worked well for a primer replacement.
Once I realized the primer would work, I got back to hanging the “boards.” Everything was going along smoothly until about an hour later. As I was getting to the bottom rows of wall one, some of the top pieces of flooring started falling off! I decided to take down the pieces I had already put up and cover the back of them with vinyl flooring adhesive. This was an OK fix. It helped, but it wasn’t until I had my husband hammer in small white trim nails that the planks actually stayed up. I ended up loving the way the nails looked because it gave the shiplap a very authentic look.
If I ever do this project again I will used liquid nails on the back of each piece along with the trim nails. Some of the boards did not stick as tightly to the wall as I would have liked, and I think the liquid nails would have fixed that issue. It has been eight months and none of the flooring pieces have come loose at all. I just think the liquid nails would have been a better choice in retrospect.
Here the first wall is finished and primed with my chalk paint primer. I used a large paint brush to cover each plank thoroughly and to get down into any cracks that had too big of gaps. My husband took care of the hard to reach places for me. The chalk paint finish worked well as a primer but it definitely needed a satin or semi-gloss paint finish in the end.
As you can see, it is very difficult to tell that this is faux shiplap. It is even more difficult to tell that this is vinyl flooring!
With one wall left I ran out of vinyl flooring! Uh-oh…I remembered I had bought the last of it! Luckily another Family Dollar in town still had two boxes.
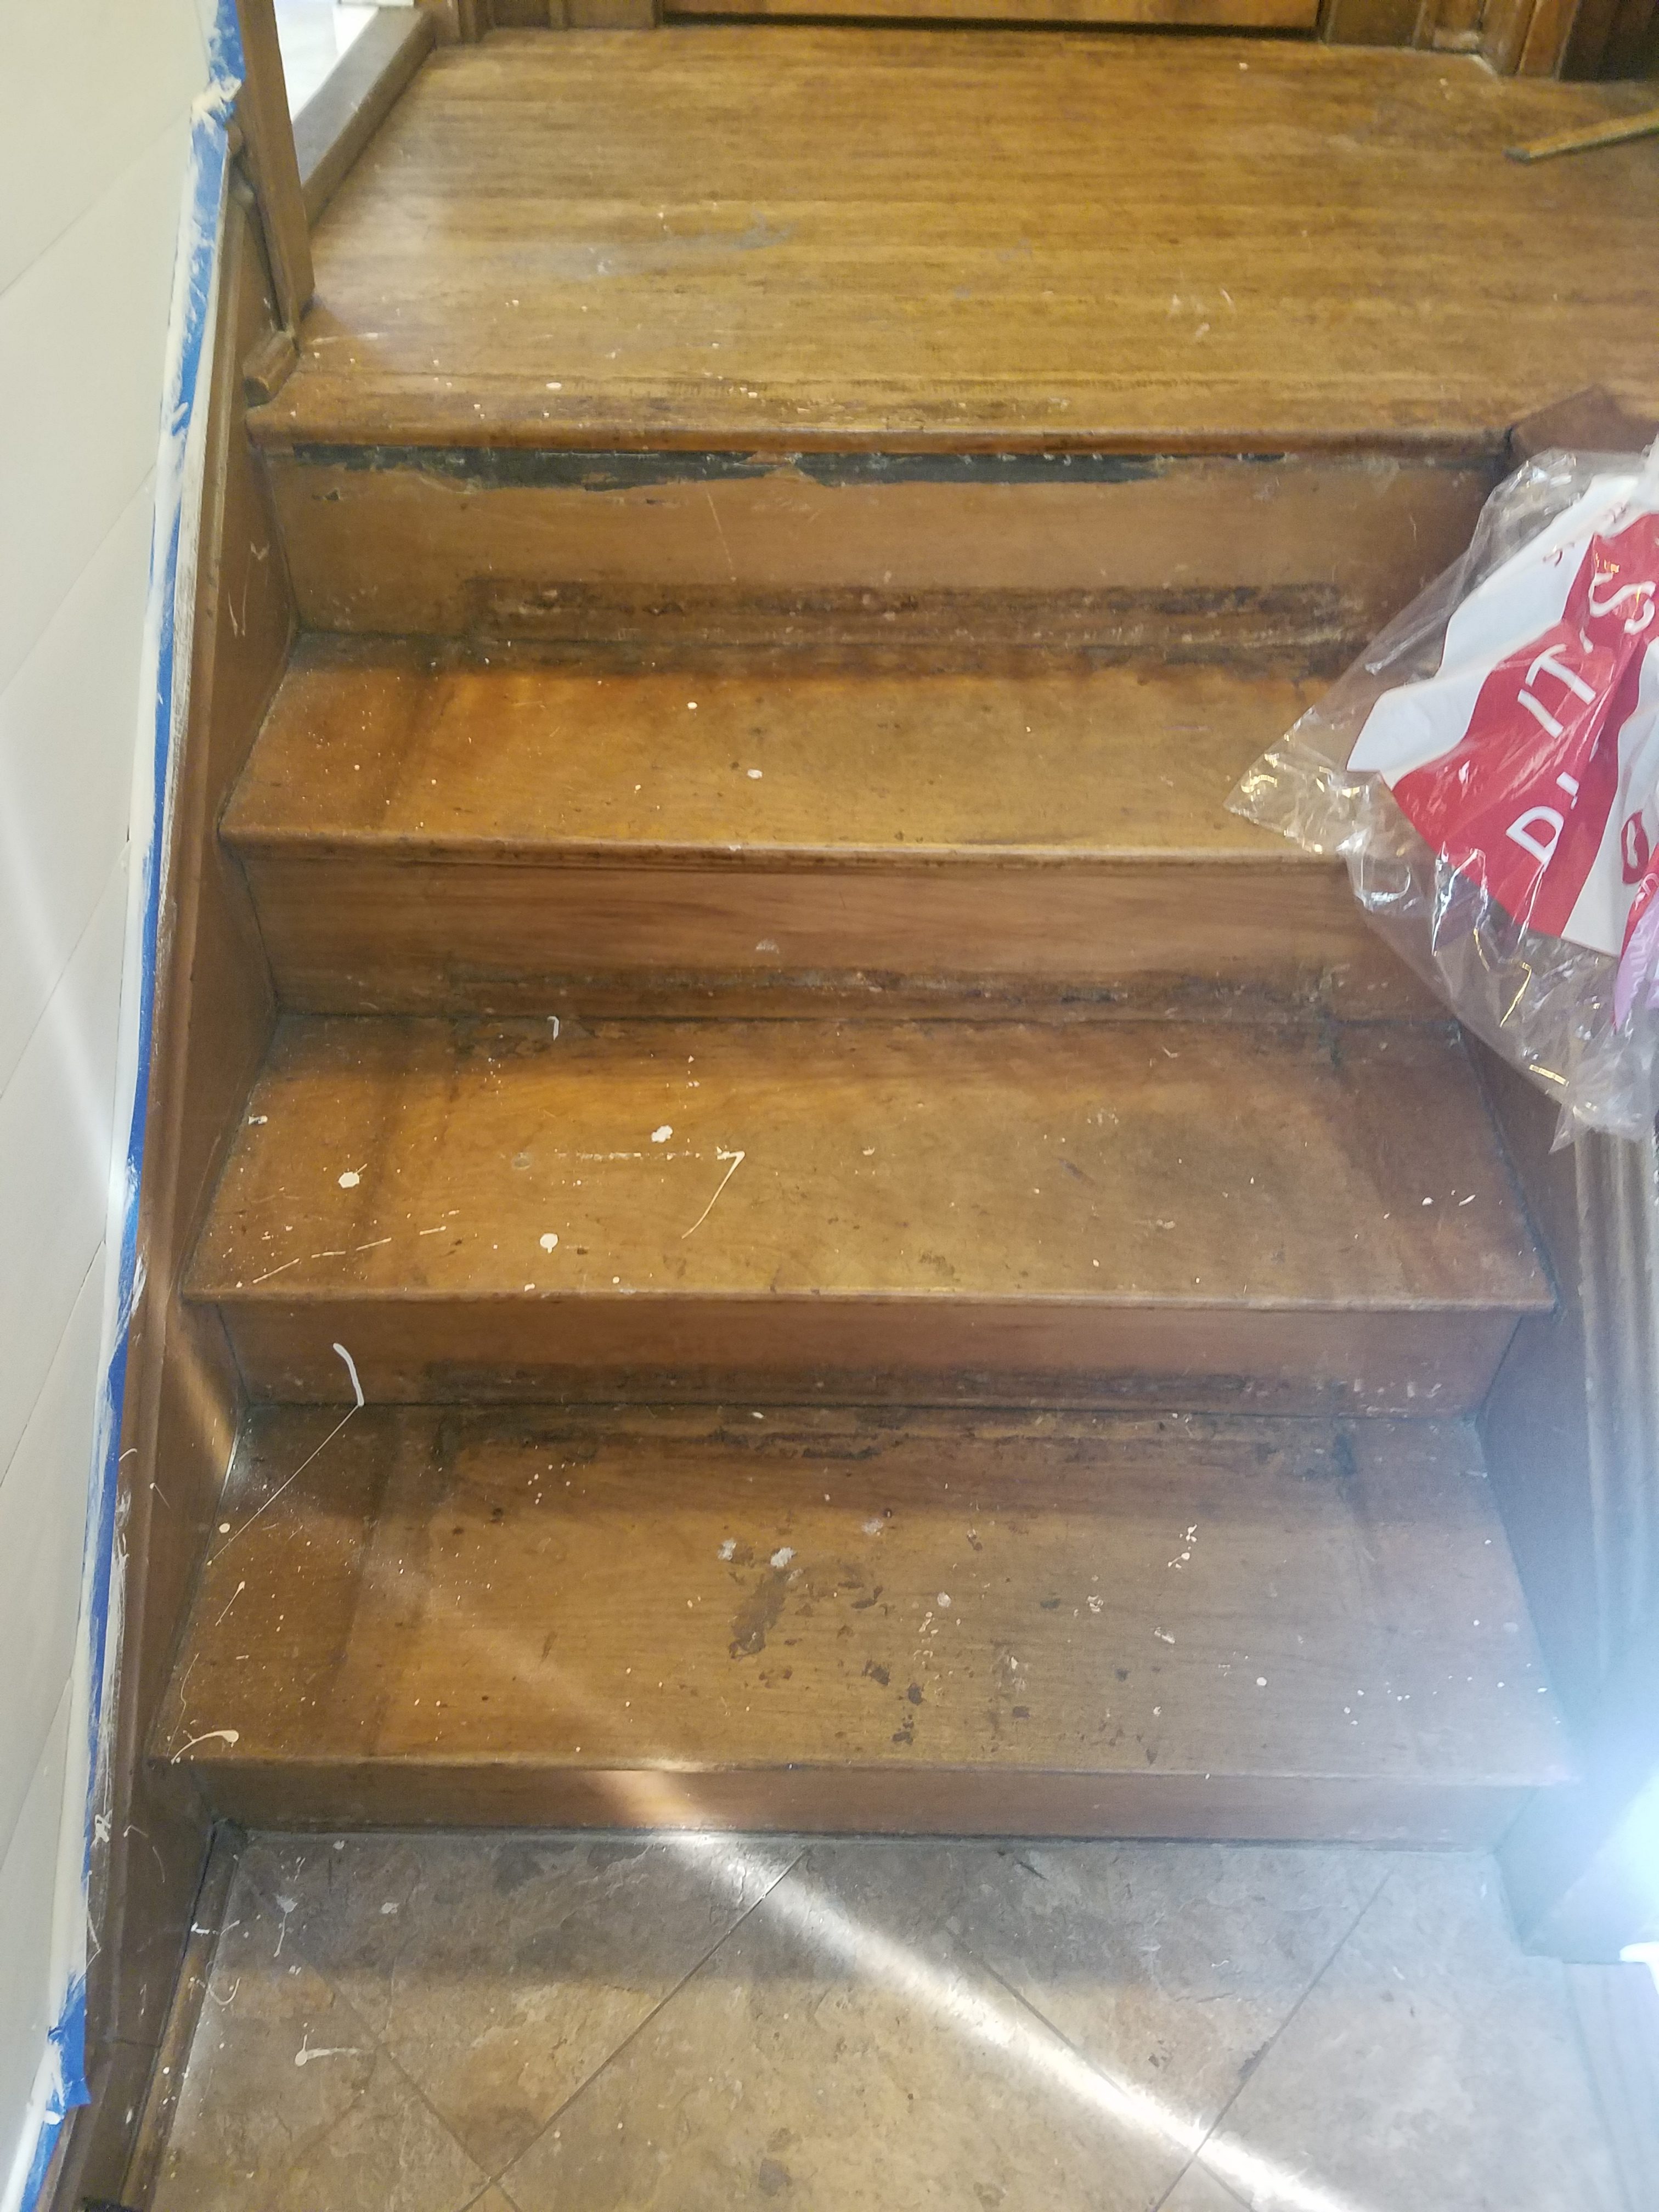
Everything was looking so good and bright and clean that it made the stairs look dingy! I added those to the list too!!!
A little paint did wonders for the stairs. This is a high traffic area where we keep our shoes, keys, backpacks, purses, etc., so spending a lot of money to redo the stairs would probably have been a waste of time and resources.
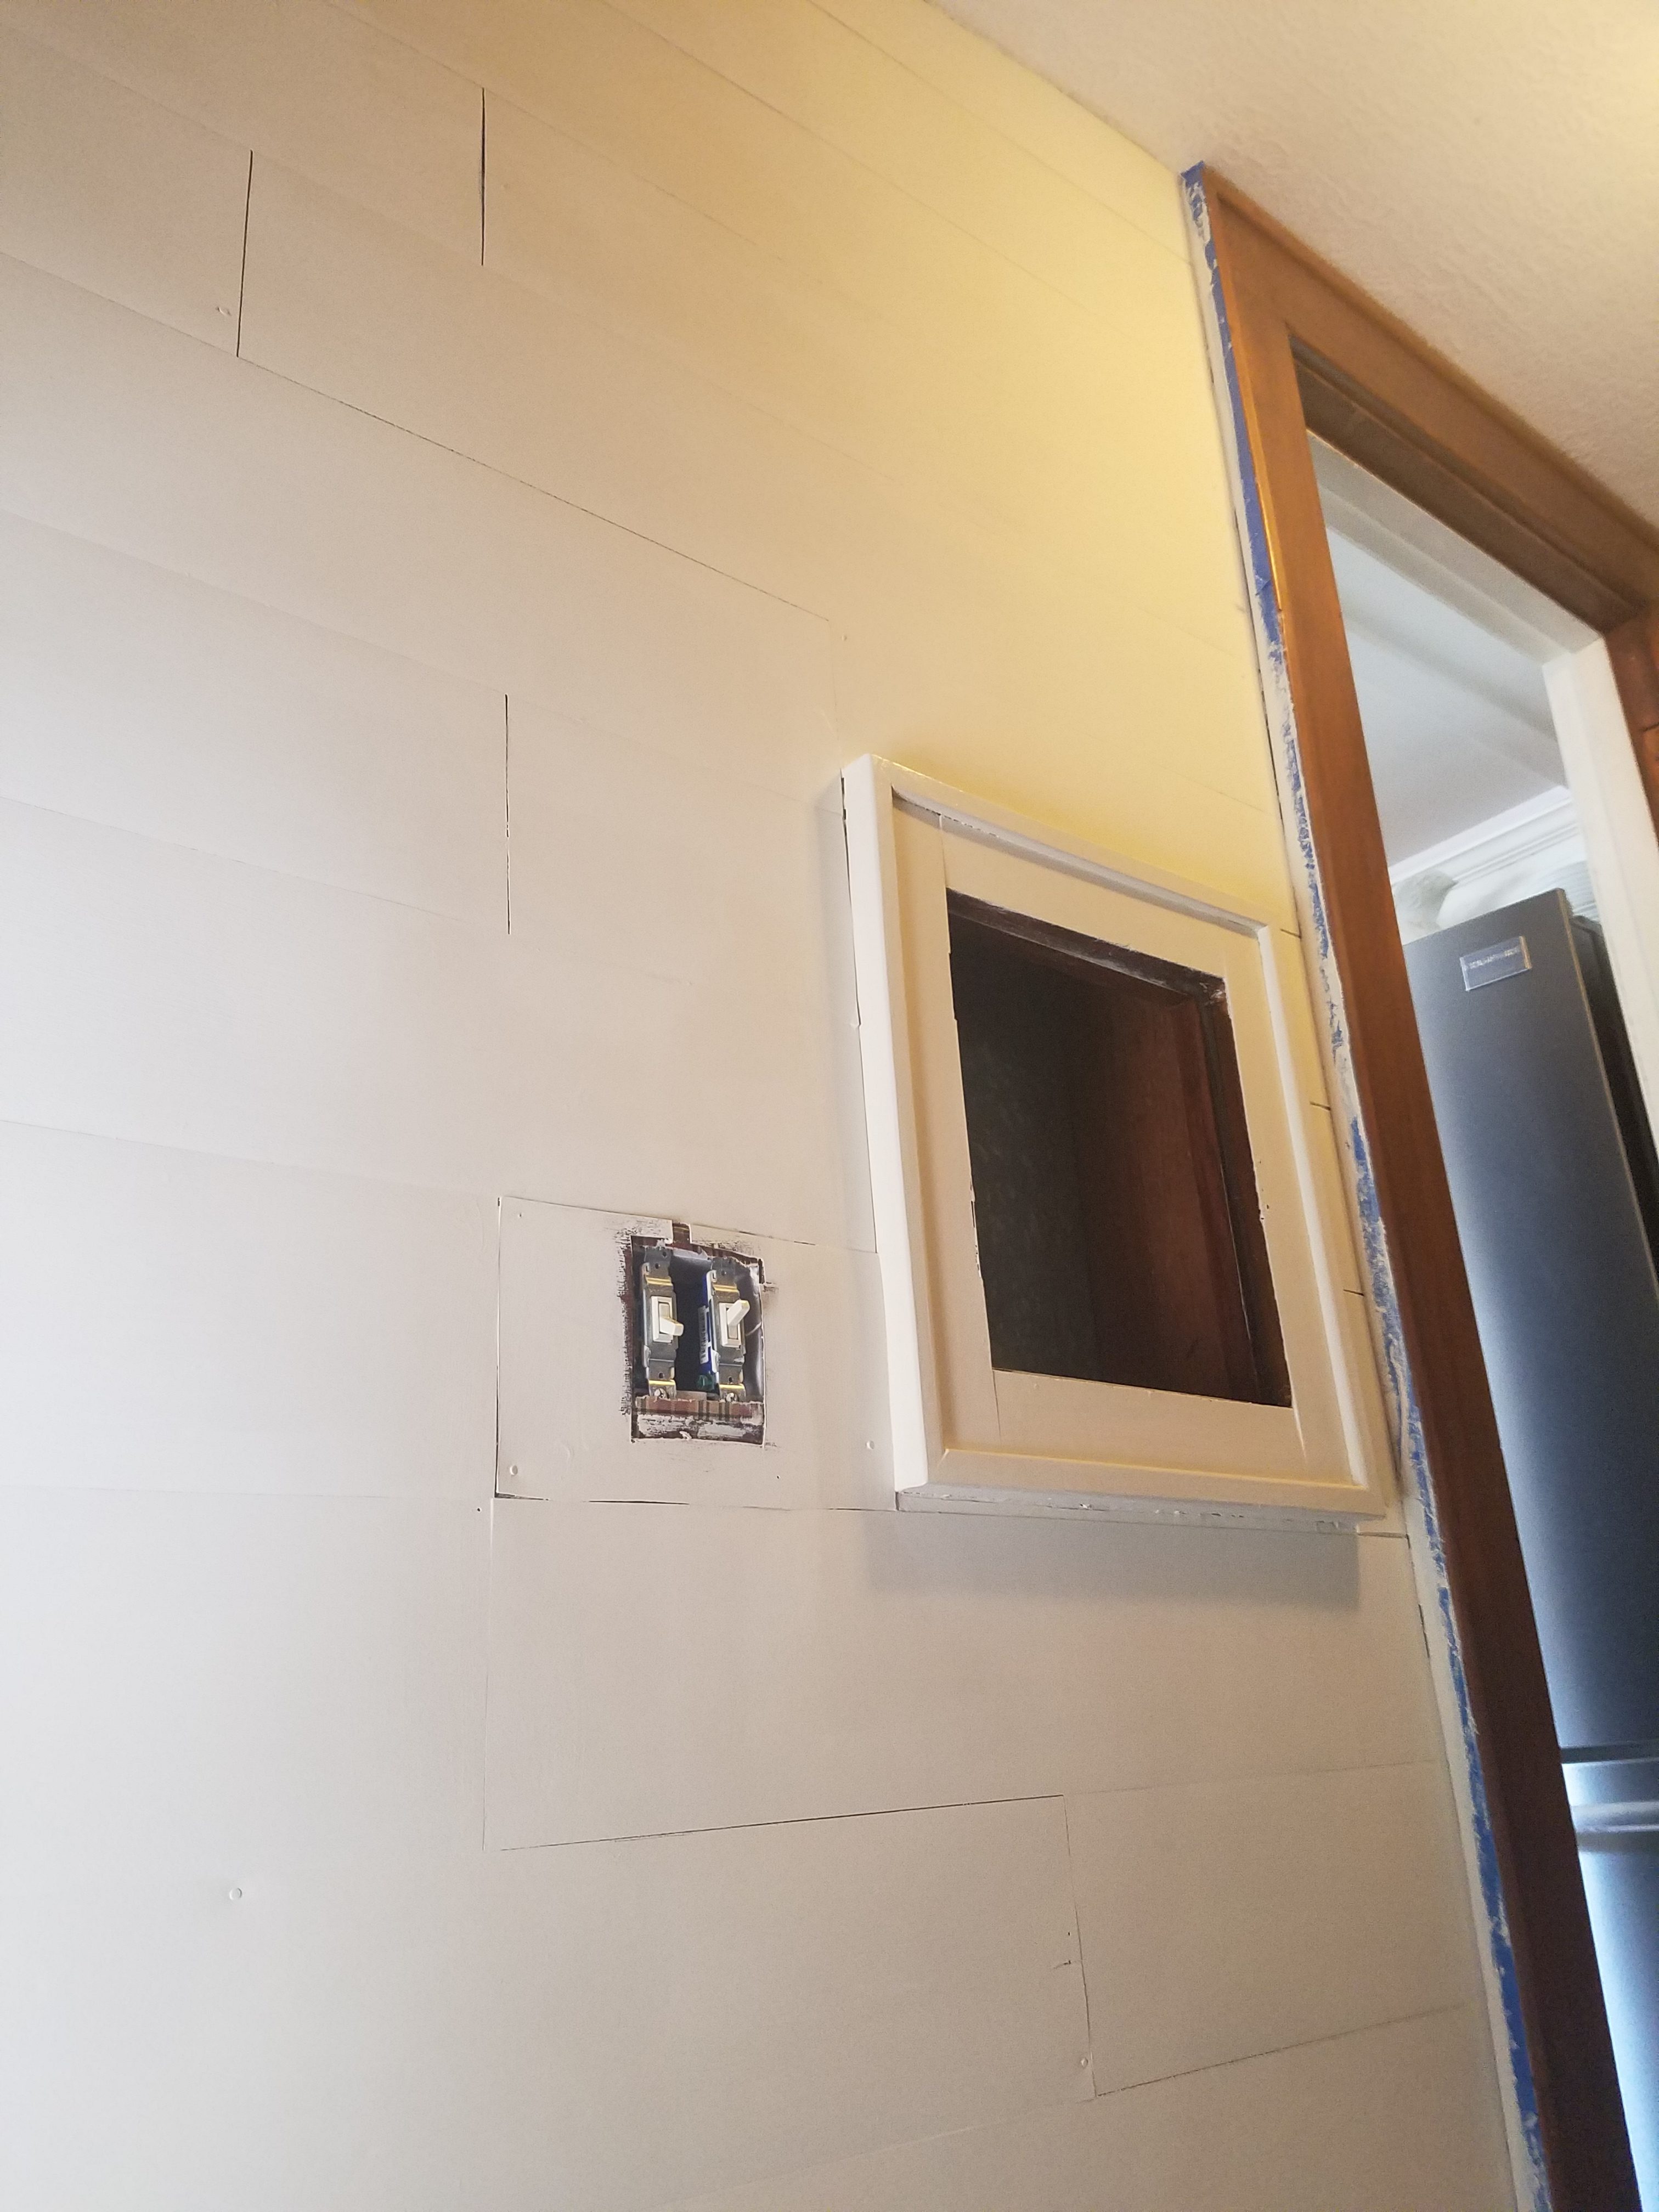
Once we had put up all the flooring planks, I mean, shiplap, it was primed and left to dry for a day. The next day we painted everything with True Value White Eagle in satin finish.
The paint has held up very well even in a high traffic area.
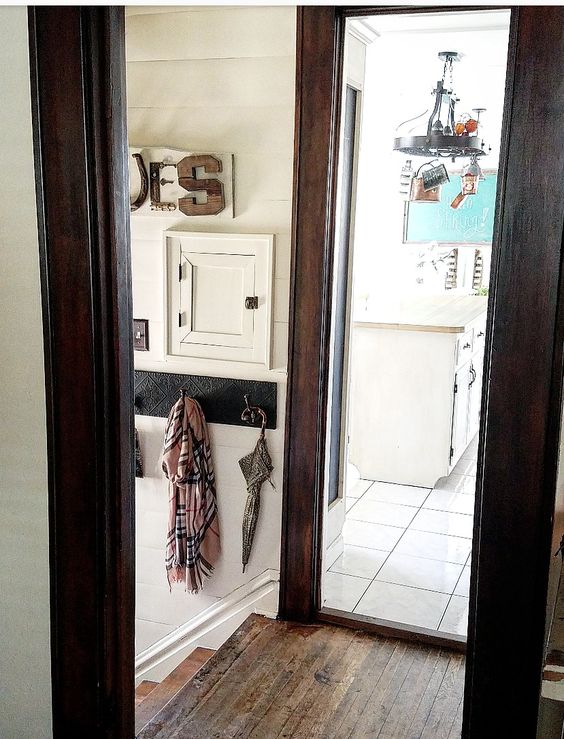
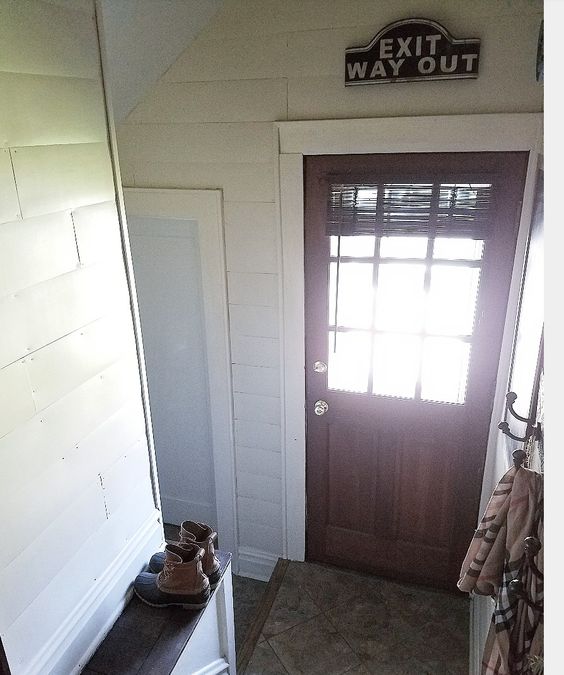
The shiplap transformed this space and it ended up having a cute farmhouse style which has been fun to decorate.
The space is so bright now that it is nearly impossible to get a good picture, but I love it.
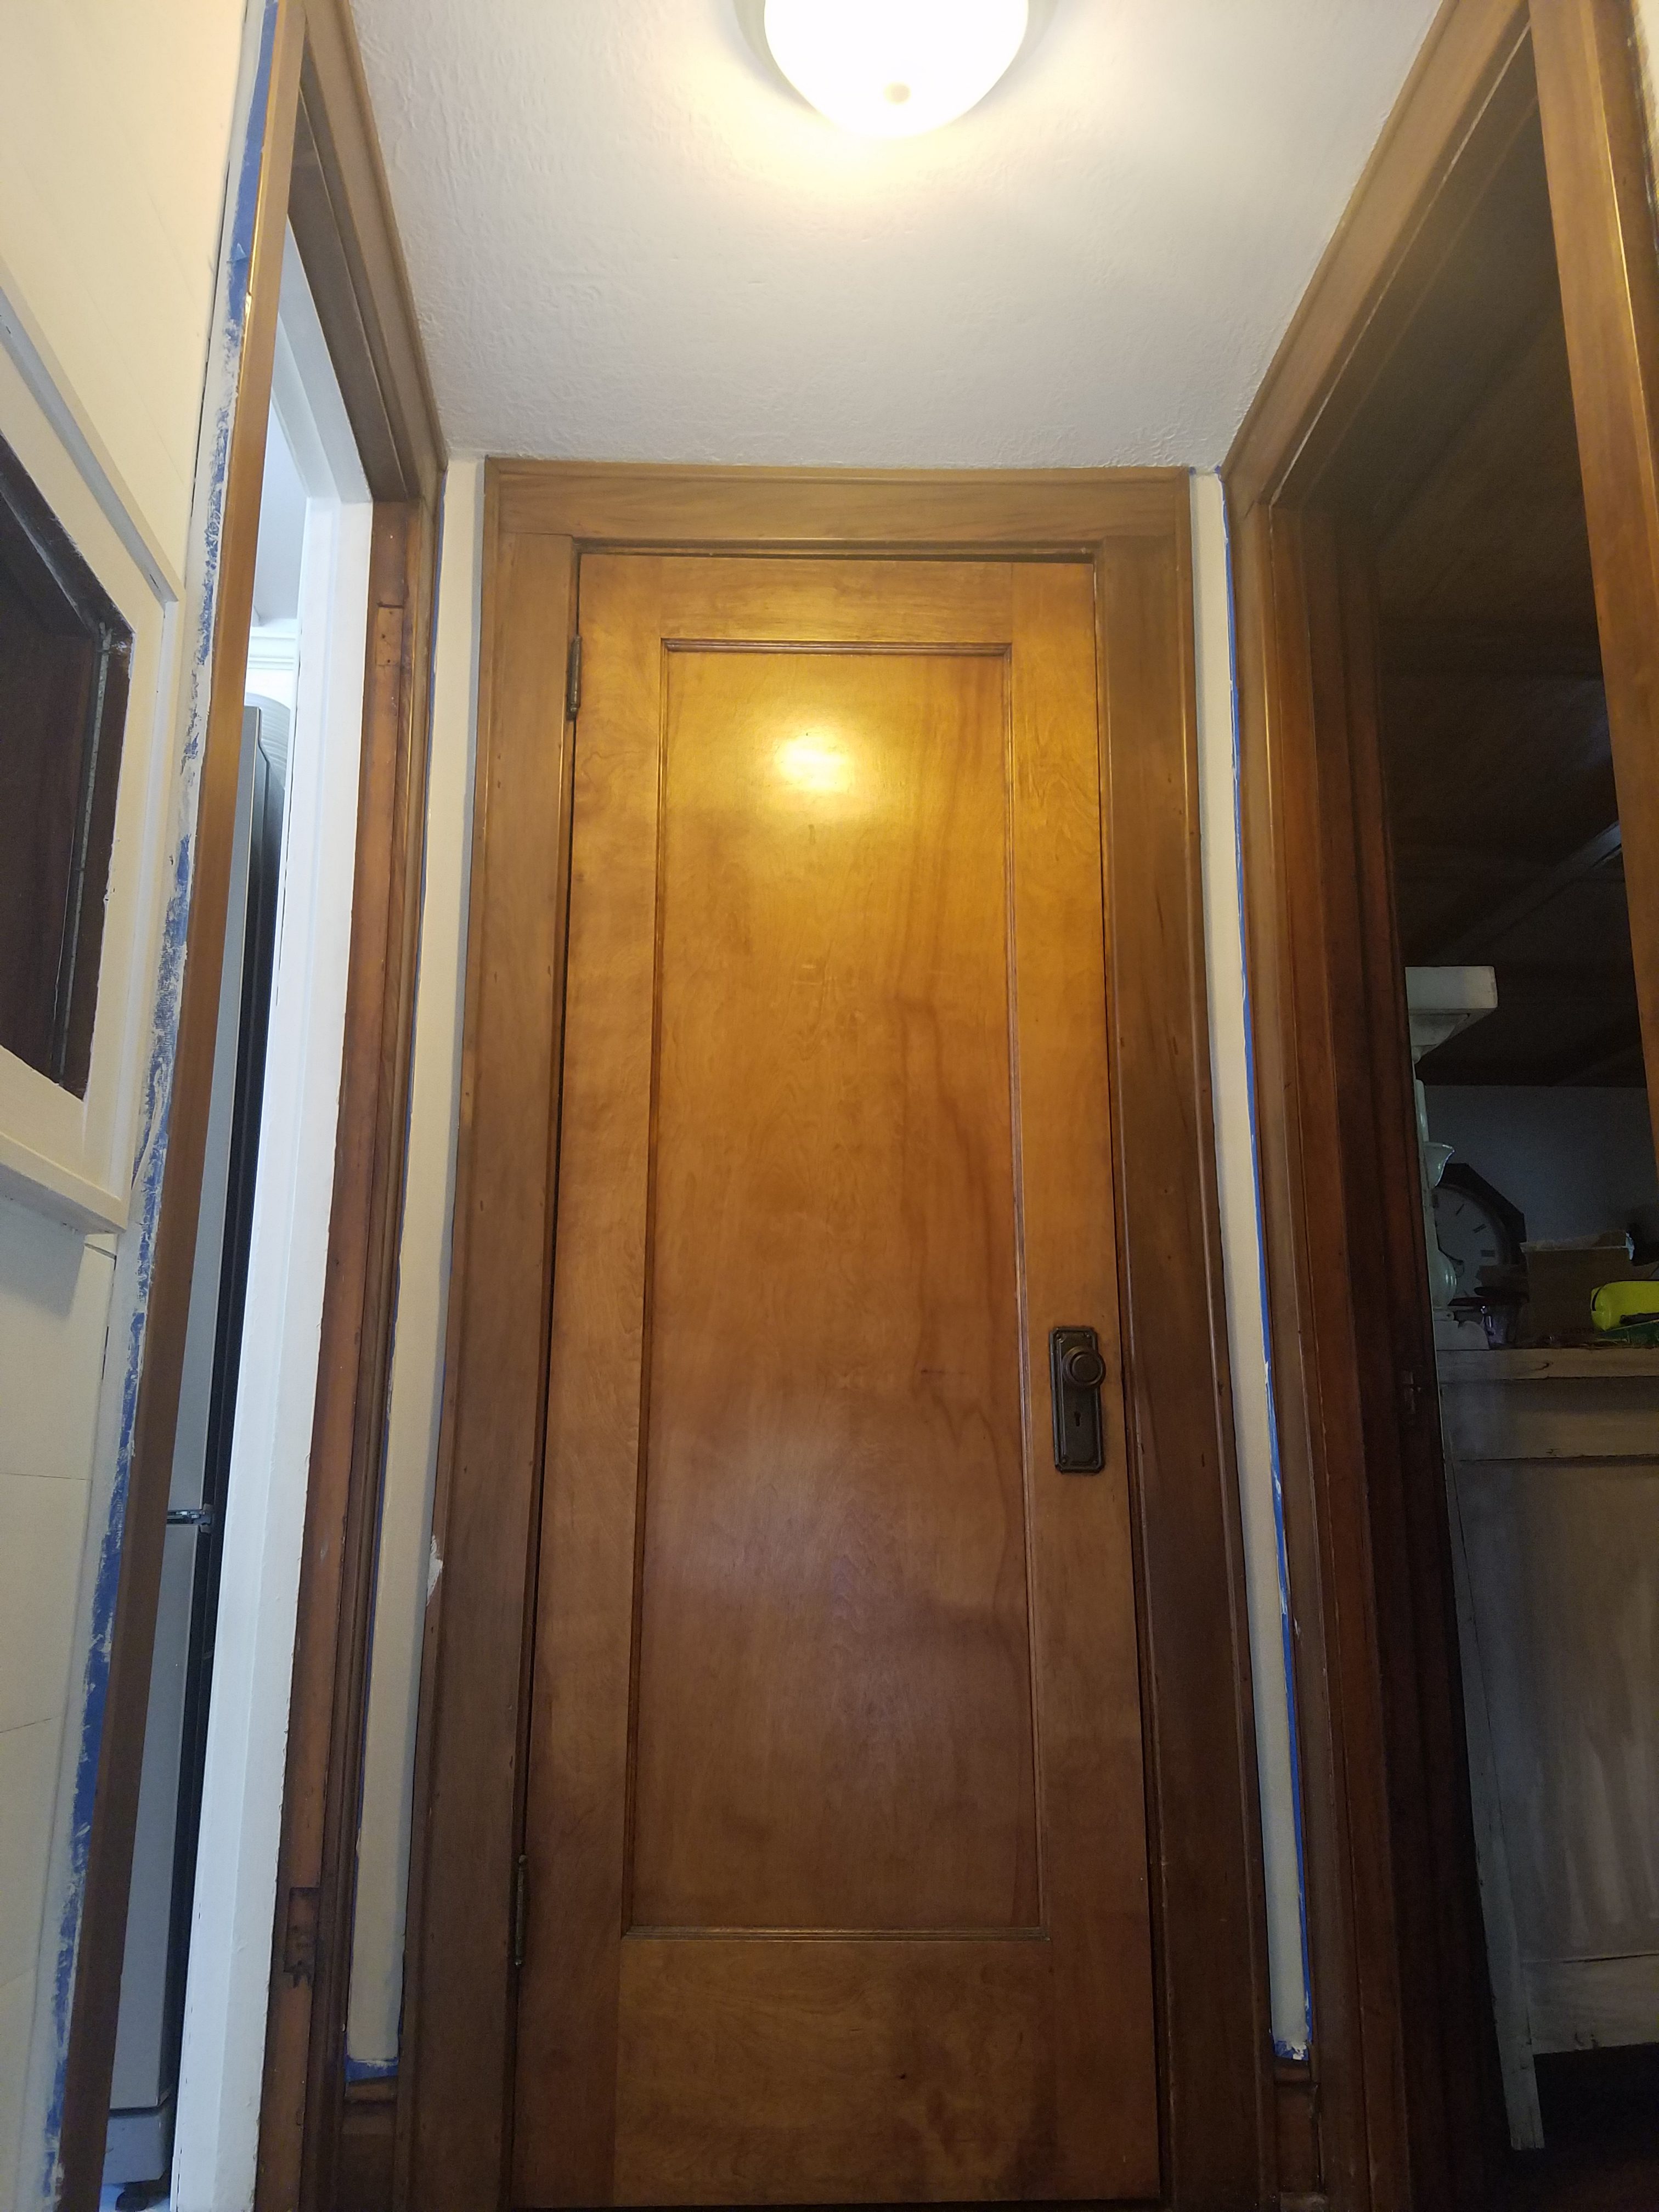
No doubt we have a much happier and updated back entry! The orangey door trim looks so much better with the darker stain too!
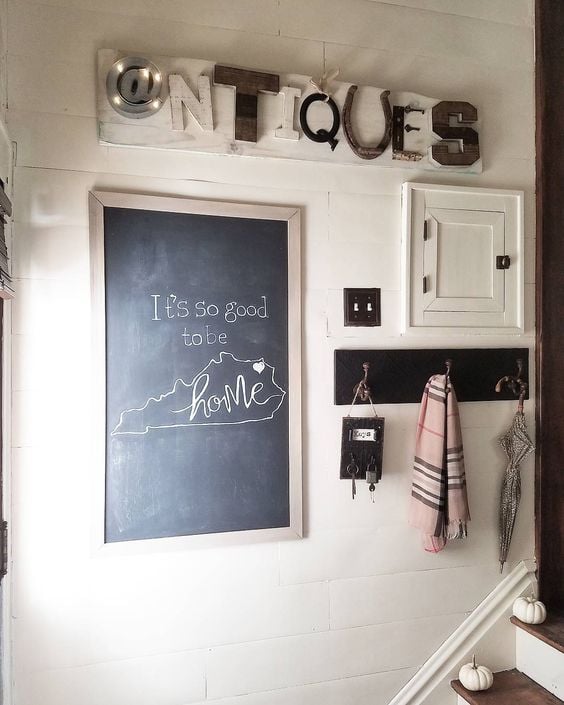
After all the shiplap was finished and the paint dried we added java stain to the wood trim. We only have a small bit of white trim in this space and the rest of our house is all original unpainted woodwork. Most people use white trim with shiplap but I really love the contrast of the dark wood and shiplap too.
Here you can see I made a few less than perfect cuts but to me it just looks like boards that have separated a bit with time. I don’t mind it a bit! I am very pleased with how the whole project turned out. It was easy and budget friendly, and completely transformed the space in a short amount of time. Due to some physical limitations I cannot do very strenuous work but this project was so simple I was able to do most of it myself. None of my guests have even suspected that our shiplap is actually vinyl flooring! I always tell them because I feel guilty though!
In the end I would have to say that I would repeat this project for a small space like a bathroom, accent wall or kitchen backsplash, but I think it would be better to invest in real shiplap or faux wood shiplap for a larger area. The beauty of this little project has made me consider using real shiplap elsewhere in our home, possibly in our dining room… might as well add it to the list too!
Amber
Thank you for stopping by! If you are looking for inspiration, just follow the yellow brick home!
Parties
DIY By Design Swing Into Spring
Create, Bake, Grow and Gather Shabbilicious Art Boutique













10 Comments
Hi Amber, fist of all, thanks so much for letting me know about your new blog, I’m adding you to my bloglist to stay up to date! This project turned out looking so great, but is one of those hair-pullers that have you asking yourself “what was I thinking?” It looks like real shiplap to me. I feel the same about fads, but I do love the look of it. A trend has to fit the house, and it looks wonderful in this space!
March 31, 2017 at 2:55 pmThank you so much Debra and thanks for visiting!
March 31, 2017 at 3:45 pmGorgeous, absolutely gorgeous! I love how creative you were with the primer. I’m impressed!
April 10, 2017 at 2:06 amThank you so much! I am so glad you stopped by!
April 10, 2017 at 4:30 pmHi Sammi! I am finally getting around to finishing up the dining room. I am hoping to post a reveal the first week of June, so I hope you will stop back by! This faux shiplap is seriously so realistic. I want to stick vinyl flooring on all the walls in the house haha!
May 11, 2018 at 12:08 amWow that looks awesome! We are in the middle of doing this down our hallway and a little in the bathroom and this post is so reassuring! I was getting ready to do this and the paint section at home depot said sand and prime with Killz2, but you didn’t have to sand at all? Is the paint still holding up well?
September 2, 2017 at 12:03 pmThank you so much! The paint is still holding up wonderfully! I do suggest roughing it up with sandpaper even though I didn’t do that. I think chalk paint will do the same as a primer, either way you will have to use primer or chalk paint because regular paint will definitely just peel off. I am so happy with this project a year later it still looks great. Best of luck and please let me know how it turns out!
September 2, 2017 at 2:25 pmA few weeks ago I came across a post about somebody using vinyl flooring for shiplap. Wasn’t stick on but it also worked well. wish our Family Dollar would have that flooring. We do have two boxes of vinyl flooring (who knows where we got it). since I read that post and now yours about using vinyl flooring want to put it up on one wall in our bedroom or maybe smaller wall in our bath room. Usually can find flooring at Habitat so maybe keep an eye out at Habitat or other thrift stores.
September 9, 2017 at 6:06 amAlso read a post last year where people used the flooring for a counter in their kitchen, we could use that also. Just want decent kitchen counters.
It never fails to amaze me how people can cross purpose so many things. Reading your post has sure encouraged me. Your entry looks great and who would know the difference? Great job. Have fun with whatever else you decide to do.
Happy weekend
That’s pure genius!
March 1, 2018 at 5:07 pmThank you so much! I am thinking of trying this again in my dining room, with higher quality peel and stick flooring. It has been over a year and a half and it is still holding up well.
March 6, 2018 at 4:20 amThanks for visiting, come back again soon!