It’s Christmas crafting time! Today I am joining my thrifty chick friends for our monthly craft challenge. This month’s theme is ornaments. I love making handmade ornaments, as they add so much warmth and personality to any Christmas tree. Vintage and Victorian style ornaments are my favorites and I have made many different ones over the years. Today I am sharing a little tutorial for some charming DIY Victorian style Christmas ornaments.

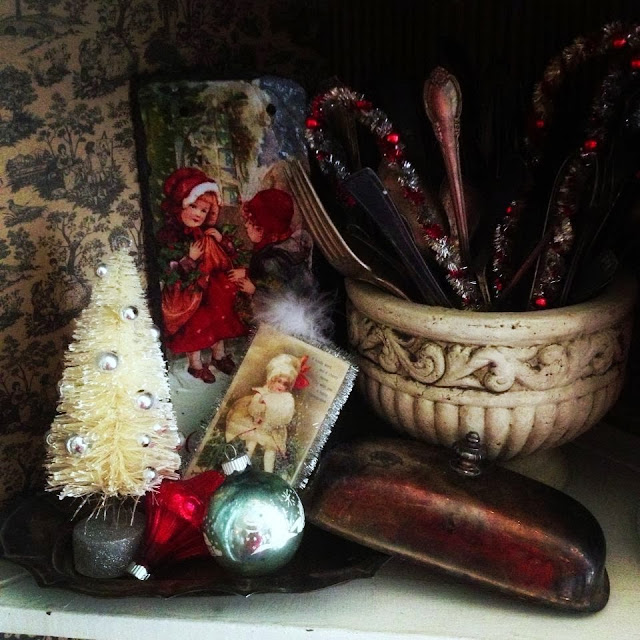
The ornament is simply a free printable of a vintage postcard that I glued onto a piece of foam poster board and embellished with pretty tinsel, glitter and a little feather. I was racking my brain trying to think of some kind of ornament for this month’s Thrifty Chicks challenge, but then I realized that I had never really shown a tutorial for this ornament. I decided to make a few more for today’s challenge and I love how they turned out! The ornaments are really easy and quick to make. Here’s how:
Materials List
~free Victorian era images or other vintage Christmas printables of your choice
~foam poster board
~glue stick
~scissors
~ hot glue gun
~utility knife
~various small Christmas craft ribbon, twine, tinsel, etc.
~glitter (optional)
~computer and printer with colored ink
If you have just a few simple craft supplies already on hand and plenty of ink in the printer, these ornaments are basically free to make! Otherwise it shouldn’t cost more than $10 to make at least 10 of these ornaments, depending on which type of ribbon or trim you purchase to embellish them. If you buy foam board at a craft store it can sometimes cost a few dollars, but I get mine from Dollar Tree for only $1.oo. I am a “thrifty chick” after all!
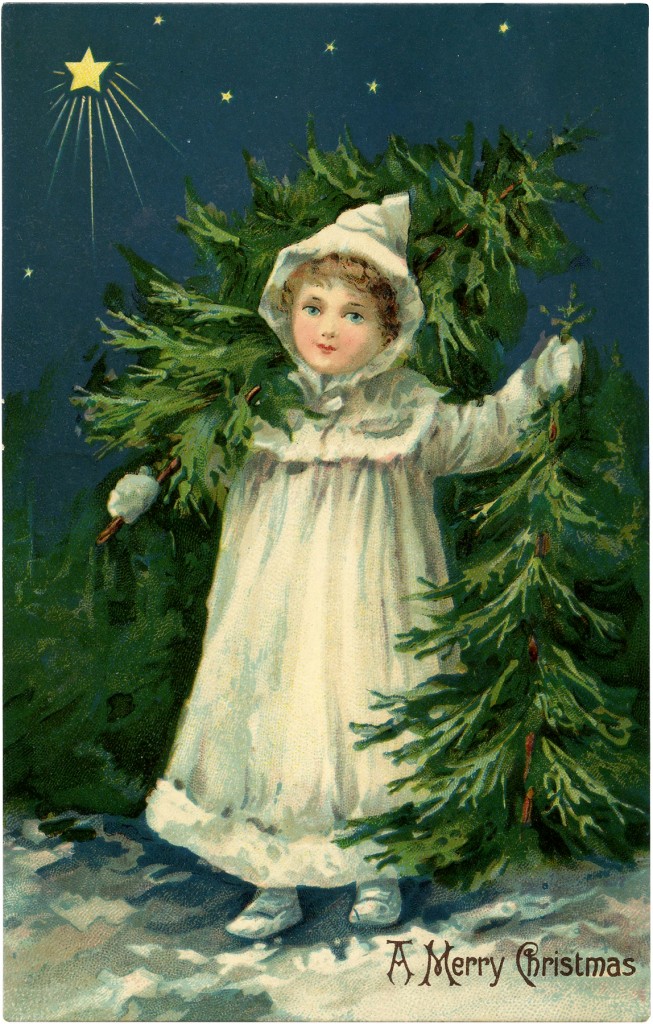
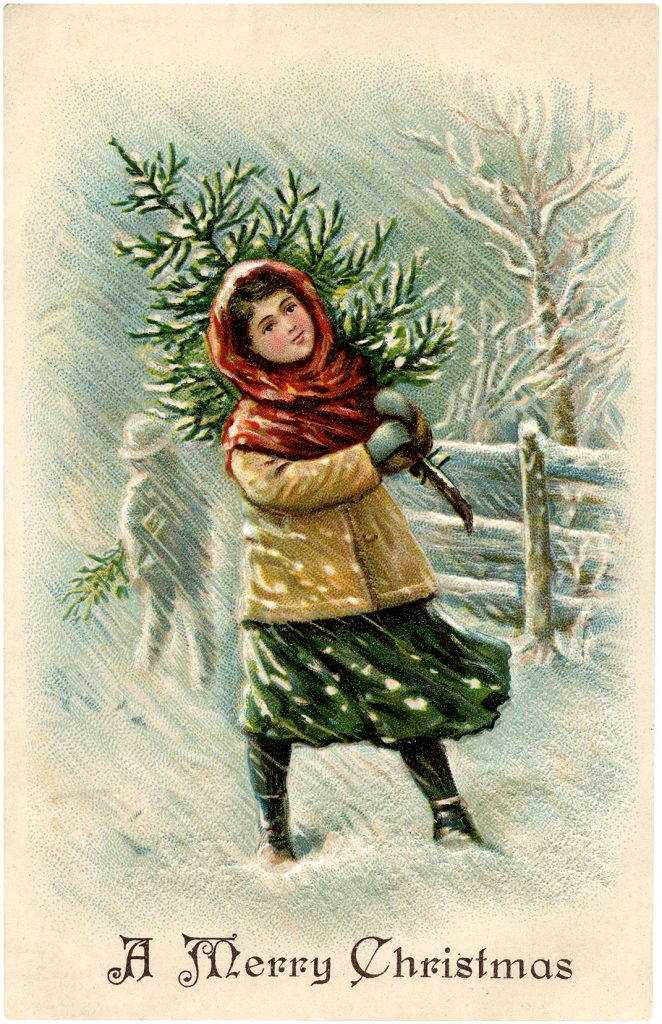
This year I am using a lot of dark green and ivory in my Christmas decorating so I searched The Graphics Fairy for vintage Christmas images with those colors in them. I can get lost for hours looking through all the free images, especially the vintage Christmas postcards.
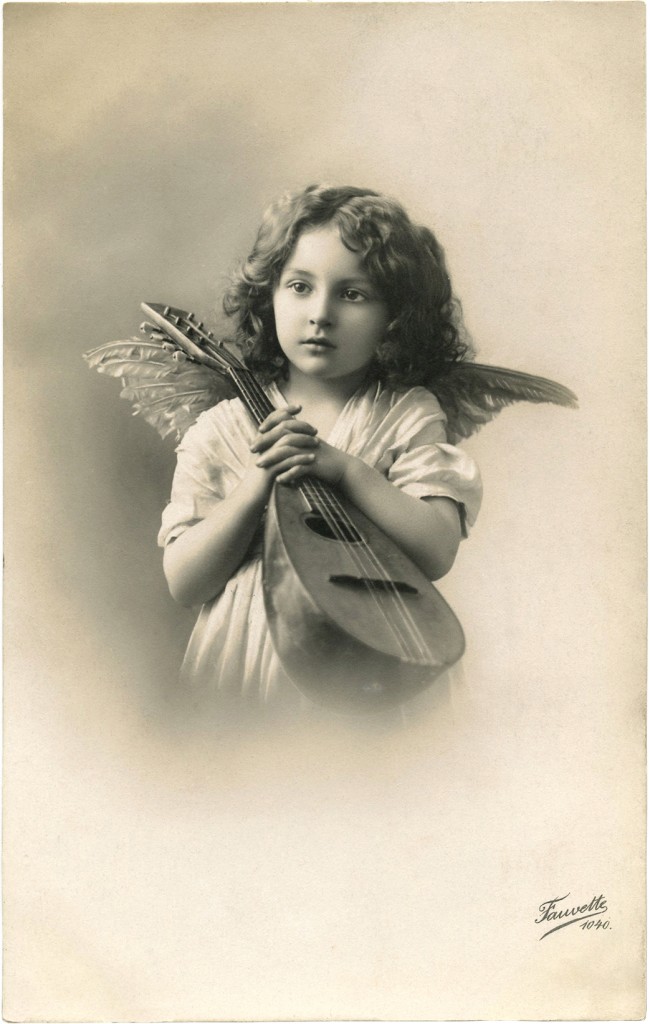
Being a decorator, crafter, lover of all things vintage Christmas and a music teacher, I am always drawn to vintage Christmas graphics with music themes. I fell in love with this beautiful image of a little girl angel and her lute.
After printing off each image at wallet size, I cut them out with scissors and glued them at the very edge of the foam poster board with a glue stick.
I simply covered the entire back of the image with the glue stick, paying special attention to the corners. I also used a light hand to keep from wrinkling up the image.
I cut out each image using a utility knife (I put some thick newspaper under the foam board to protect the counter top.) There were little uneven pieces of the foam along the edges after cutting but those just picked right off.
I didn’t want the backs to be plain so I covered them with photocopied vintage sheet music which was cut to fit each ornament and glued on with the glue stick. As you can see, this left the edges white, so they needed to be covered with pretty little Christmas trimmings.
For the angel ornament I hot glued some gold ribbon around the entire perimeter making sure to cover all the white foam that was showing. The ribbon was a little wider than the foam board so it stuck up just a bit higher than the edge of the foam board but that was okay, since I planned to glue on another layer of pretty tinsel anyway. The tinsel ended up covering the negative space.
I hot glued an inner frame of gold wired tinsel around the inside of the ribbon.
*Note: Gluing the small tinsel down with a hot glue gun in this manner will likely result in a burnt finger since you have to press the little tinsel tightly down into place around the inner edge of the ornament. Using another type of tacky glue might be a better option.
I cut a small piece of feathery trim and hot glued each end to the back of the ornament to form a little hanger.
This charming Victorian style ornament turned out so pretty it makes me want to sing! It is perfect for our main family tree in the music room.
I love the dark green in this vintage Christmas postcard image, so I chose deep green velvet ribbon to go around the outside edge. I used the wispy ivory and gold trim ribbon on the inside edge of the ornament, and made a simple loop hanger out of tiny gold rope ribbon.
I love this image of a little girl in an olive green skirt and a pretty snowy scene. For this ornament I chose an ivory velvet ribbon for around the outside edge and the wispy ivory and gold trim ribbon for the inside. Once again I glued a piece of thin gold rope trim ribbon to the back of the ornament to from a loop for hanging.
These two ornaments look so pretty on my new flocked “winter” tree. Both of these images are wintry so I will probably keep them out through January. I will might add just a light dusting of icy glitter to each of these ornaments.
“A kindly word and a cheery rhyme, to wish you a happy Christmas time!”
Well, are you ready to hit The Graphics Fairy site to search for images to make your own charming DIY Victorian Style Christmas ornaments? If Victorian or shabby chic isn’t your style, you can make similar ornaments using retro kitschy Christmas images and vintage tinsel trims. I found a few more images that I love and I can’t wait to make more ornaments this weekend.
If you enjoyed this post be sure to subscribe by email to receive a weekly newsletter with all the latest posts and news about upcoming events. Next week I will be sharing several fun Christmas crafts and DIY’s too so I hope you will plan to come back for a visit!
Now it’s time to see more unique and creative ornament ideas from the Thrifty Chicks. Simply click on the links below to view each post.
Thank you so much for visiting today! Merry Christmas!
Amber


13 Comments
Amber, these are so pretty and would look amazing on my tree! I love how easy they are to make too. Pinned to share and refer back to because these are definitely happening on my tree next year.
December 11, 2018 at 9:25 amOh, the burnt fingers; downside of using a glue gun! These are so cute, Amber! Think we were both on the same wave length with creating an ornament to enjoy vintage graphics! I just love all those old images! Love the fuzzy glitter & feathery trim on them-so Victorian!
December 11, 2018 at 9:33 amThose are really pretty Amber!
December 11, 2018 at 9:39 amThese are soooo cute, Amber!! I am totally going to make some of these darling ornaments!!
December 11, 2018 at 9:18 pm~Emily
These are adorable. I love vintage postcards.
December 12, 2018 at 9:00 amThese are so sweet Amber, Love the graphics!
December 12, 2018 at 11:10 pmThanks, so pretty, love the victorian girls.
December 14, 2018 at 3:52 pmThese are so sweet, Amber! Thanks for sharing at Vintage Charm!
December 16, 2018 at 12:38 pmReally pretty images, Amber! I remember your post from last year and I am happy that you shared it at Share Your Style #231 this past week. Will share at SYS #233 the day before Thanksgiving. <3
Happy decorating your home for the holidays,
November 13, 2019 at 9:09 pmBarb 🙂
Those are darling Amber! And I love the music theme – so fun! Thanks for the tutorial! ????
November 14, 2019 at 12:55 pmI adore anything Victorian Amber and these Christmas ornaments are totally gorgeous!!
November 15, 2019 at 1:38 amThank you for sharing your ornies at Create, Bake, Grow & Gather this week. I’m delighted to be featuring them at tonight’s party and pinning too.
Hugs,
Kerryanne
Thank you for sharing at #OverTheMoon. Pinned and shared. Have a lovely week. I hope to see you at next week’s party too!
November 17, 2019 at 7:17 pmThese ornaments are so pretty and a wonderful way to recycle beloved cards from family and friends! Thank you for the idea, Amber. Shared at Share Your Style #233 but pinned just today (12/3). <3
Enjoy the Christmas season,
December 3, 2019 at 10:42 pmBarb 🙂